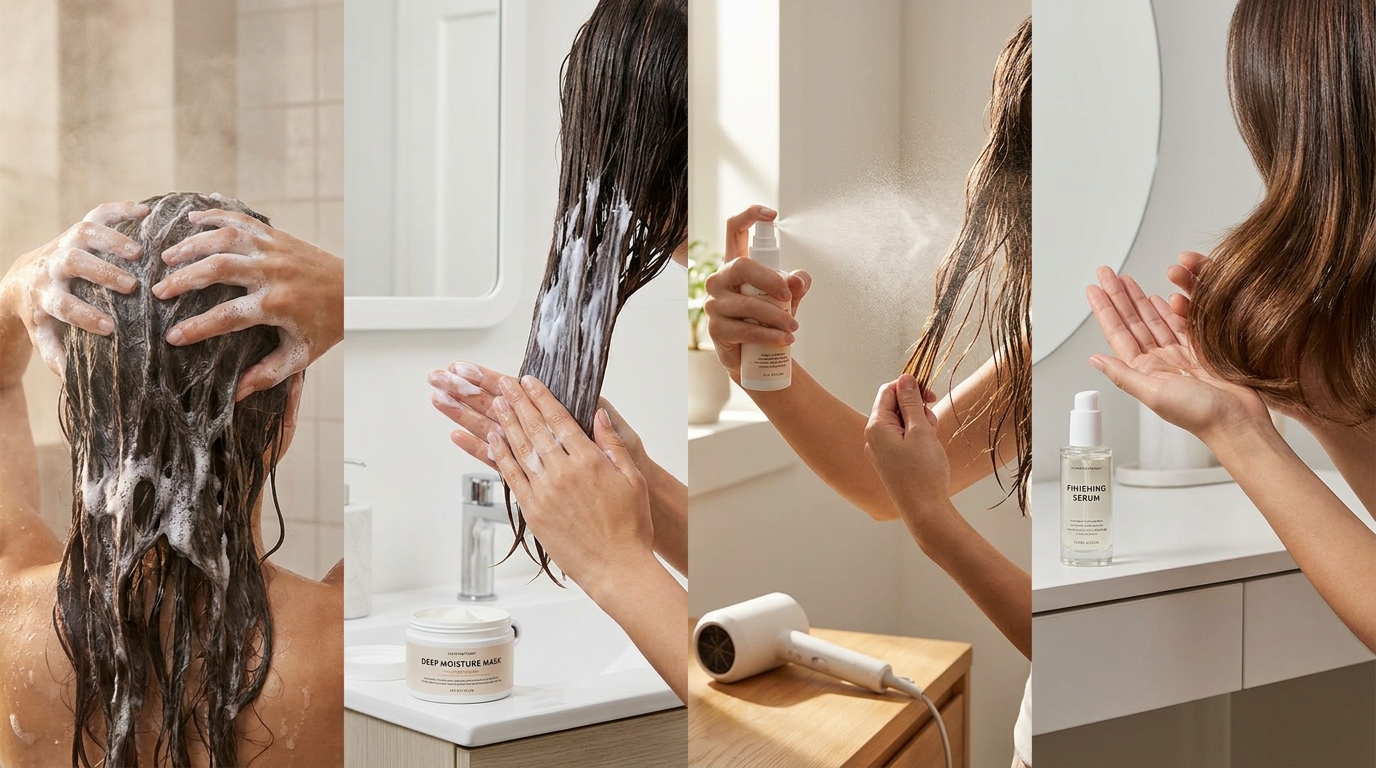
The Right Order to Apply Hair Products
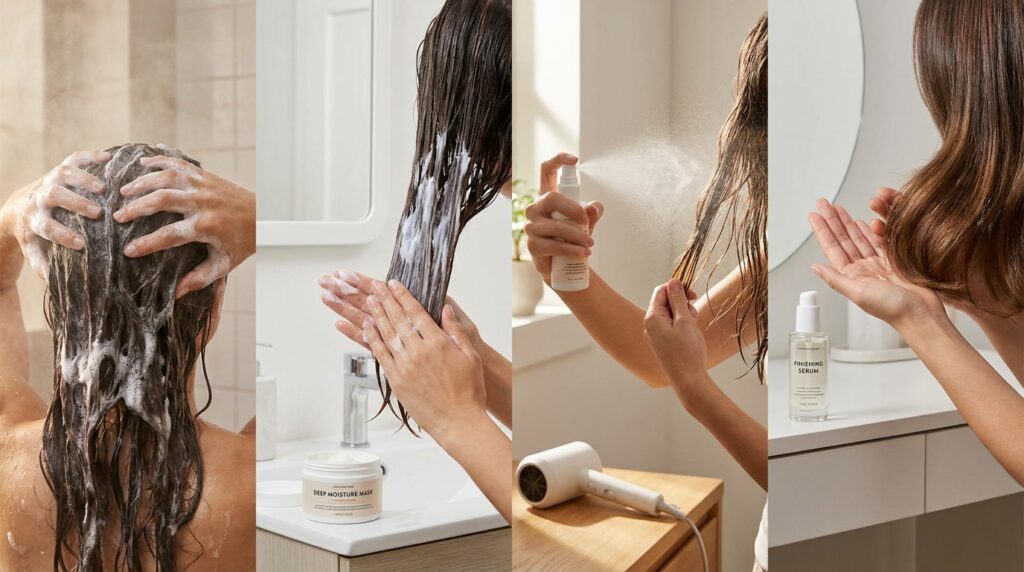
If you’ve ever felt like your hair products aren’t doing what they’re supposed to, the problem might not be the products themselves. It might be the order you’re applying them in. Product layering is one of those things that seems like it shouldn’t matter much, as if the hair will just absorb everything eventually regardless of what goes on first. But the reality is that applying products in the wrong sequence can actively prevent them from working properly, cause buildup, weigh the hair down, or create a finish that looks nothing like what the product promised on the packaging.
Getting the order right is genuinely one of the most impactful changes you can make to your haircare routine without buying a single new product. The products you already own may perform significantly better simply by being applied in the correct sequence. And once you understand the logic behind the order, it stops being something you have to memorize and starts being something that makes intuitive sense.
This guide walks through the correct order for applying hair products from wash day through to styling, explains the reasoning behind each step, and covers the most common mistakes people make that reduce how well their products actually work.
Why Order Matters
Hair product layering follows a simple underlying logic: lighter, water-based products go on first and heavier, oil-based products go on last. This principle applies whether you’re doing a full wash day routine or just refreshing your hair between washes. When you reverse this order and apply heavy products before lighter ones, the heavy products create a barrier on the hair shaft that prevents the lighter products from penetrating. The lighter products then sit on top of the heavy layer and either don’t absorb properly or get wiped away, which means your hair isn’t getting the benefit of those products at all.
The other key principle is that products applied to wetter hair penetrate more deeply than products applied to drier hair. This is because the hair cuticle is more open when wet, allowing products to enter the hair shaft more effectively. Products like leave-in conditioners and moisturizers benefit from being applied to wet hair for this reason. Products like oils and serums are more effective when applied to damp hair that has already absorbed moisture, since their job is to seal and protect rather than to penetrate.
Understanding these two principles, lightest first and wettest first, makes the correct layering order logical rather than arbitrary. It also helps you adapt the order when you’re using products that don’t fit neatly into a standard routine, since you can assess whether a product is relatively light or heavy, water-based or oil-based, and place it in the sequence accordingly.
Step One: Shampoo
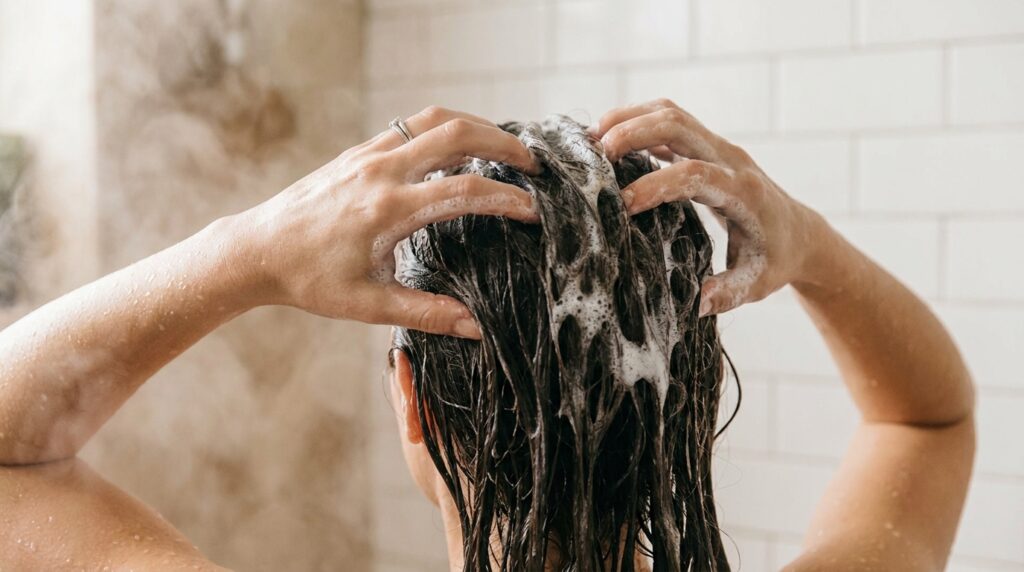
Shampoo is the starting point of any wash day routine, and how you apply it matters as much as which one you use. The purpose of shampoo is to cleanse the scalp of sebum, sweat, product buildup, and environmental pollutants. It’s a scalp product first and a hair product second, which means the application should be focused primarily at the roots and scalp rather than distributed through the lengths and ends.
Apply shampoo to wet hair, focusing on the scalp and roots. Work it in with your fingertips using gentle circular massaging movements rather than scrubbing, which creates friction and roughens the hair cuticle. Most people apply shampoo only to the most accessible parts of the scalp, the top and front, while neglecting the nape and the areas behind the ears where buildup can accumulate just as significantly. Working methodically through the whole scalp ensures an even cleanse.
Allow the shampoo to rinse through the lengths as you wash it out rather than scrubbing it through the ends directly. The scalp’s oil and product buildup is what needs active cleansing. The ends of the hair, which are the oldest and most fragile part of each strand, don’t need the same level of detergent contact and benefit from gentler treatment.
Step Two: Conditioner
Conditioner goes on immediately after shampoo while the hair is still wet, and its application is essentially the reverse of shampoo: focused on the mid-lengths and ends rather than the scalp. Applying conditioner to the scalp adds unnecessary weight and can contribute to oiliness, since the scalp has its own oil production and doesn’t need the additional moisture that the lengths and ends do.
Apply conditioner generously to the mid-lengths and ends and use a wide-tooth comb to distribute it evenly through every strand rather than just the outer layer. This ensures the product reaches all the hair that needs it rather than concentrating on the surface. Leaving conditioner on for at least two to three minutes before rinsing, rather than washing it out immediately, gives it time to do its job rather than simply passing through the hair on its way down the drain.
The temperature of the water you rinse with affects the result. Rinsing with cool or cold water helps close the hair cuticle that shampooing opened, which seals in the moisture the conditioner just added and produces a smoother, shinier finish than rinsing with hot water. If a full cold rinse feels too uncomfortable, even finishing with thirty seconds of cooler water makes a noticeable difference.
Step Three: Deep Conditioner or Hair Mask

A deep conditioner or hair mask replaces the regular rinse-out conditioner on days when the hair needs more intensive treatment, rather than being added on top of it as an extra step. Deep conditioning treatments are more concentrated than regular conditioners and are designed to be left on longer, typically between twenty minutes and an hour, to allow deeper penetration into the hair shaft.
Apply the deep conditioner to clean, freshly shampooed hair in the same way as a regular conditioner, focused on the mid-lengths and ends. Cover with a shower cap and, if possible, apply some gentle warmth from a warm towel wrapped over the cap or by sitting in a warm room. The warmth helps the cuticle open slightly, allowing the treatment to penetrate more deeply than it would in the absence of heat.
Deep conditioning should replace rather than follow regular conditioning on the days it’s used, since layering both adds unnecessary product weight without significant additional benefit. Most hair types benefit from deep conditioning once a week, though very dry, damaged, or chemically treated hair may benefit from more frequent treatment.
Step Four: Leave-In Conditioner
Leave-in conditioner is the first product applied after washing, before any styling products, and it should go on while the hair is still quite wet. Its job is to provide a layer of moisture that remains in the hair throughout the day rather than being rinsed out, to reduce friction during detangling, and to provide a base layer of hydration that subsequent styling products can build on.
Apply leave-in conditioner to soaking wet or very damp hair, working it through from mid-lengths to ends in the same way as a rinse-out conditioner. The wetter the hair when leave-in is applied, the better it tends to penetrate. Applying it to hair that has already been partially dried reduces its effectiveness since the cuticle has begun to close and the product can’t enter the hair shaft as readily.
A common mistake is using too much leave-in conditioner, which can weigh the hair down and make it feel heavy or greasy before styling has even begun. A small amount worked thoroughly through the hair is more effective than a large amount concentrated in a few areas.
Step Five: Protein Treatment
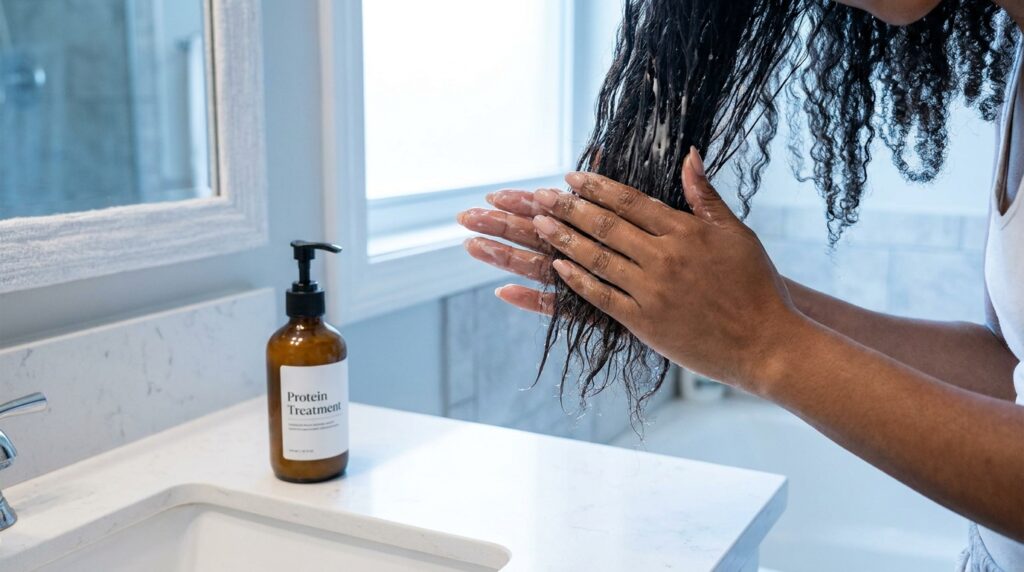
If you’re using a protein treatment as part of your routine, it goes on after leave-in conditioner and before styling products. Protein treatments reinforce the structural integrity of the hair fiber by filling in gaps in the cuticle temporarily, making the hair feel stronger and more resilient. They’re particularly beneficial for damaged, heat-treated, or chemically processed hair that has lost some of its natural protein structure.
The frequency of protein treatment use depends on the hair’s condition. Hair that is significantly damaged or very porous may benefit from a light protein treatment once a week. Healthier hair might only need protein support once or twice a month. Always follow a protein treatment with a moisture-focused product, since protein without adequate moisture can make the hair feel stiff and brittle.
Not all hair needs regular protein treatment, and over-proteinating is a genuine risk. Hair that receives too much protein without enough balancing moisture becomes hard, stiff, and actually more prone to breakage rather than less. If your hair starts feeling crunchy or unusually stiff after using protein products, reduce the frequency and increase moisture-focused treatments to restore balance.
Step Six: Curl Cream or Styling Milk
For people with wavy, curly, or coily hair, a curl cream or styling milk goes on next, after the leave-in and any protein treatment but before heavier styling products like gel or mousse. These products provide definition, moisture, and some hold to the hair’s natural curl pattern without creating the firmer hold of a gel.
Apply curl cream or styling milk to damp hair section by section, scrunching it upward into the curl rather than smoothing it downward, which can disrupt the natural curl pattern. The product should be distributed evenly through each section rather than concentrated at the roots or ends, since even distribution produces more consistent curl definition throughout.
For straight or only slightly wavy hair, this step is usually skipped in favor of moving directly to heat protectant or other styling-specific products after the leave-in conditioner.
Step Seven: Heat Protectant
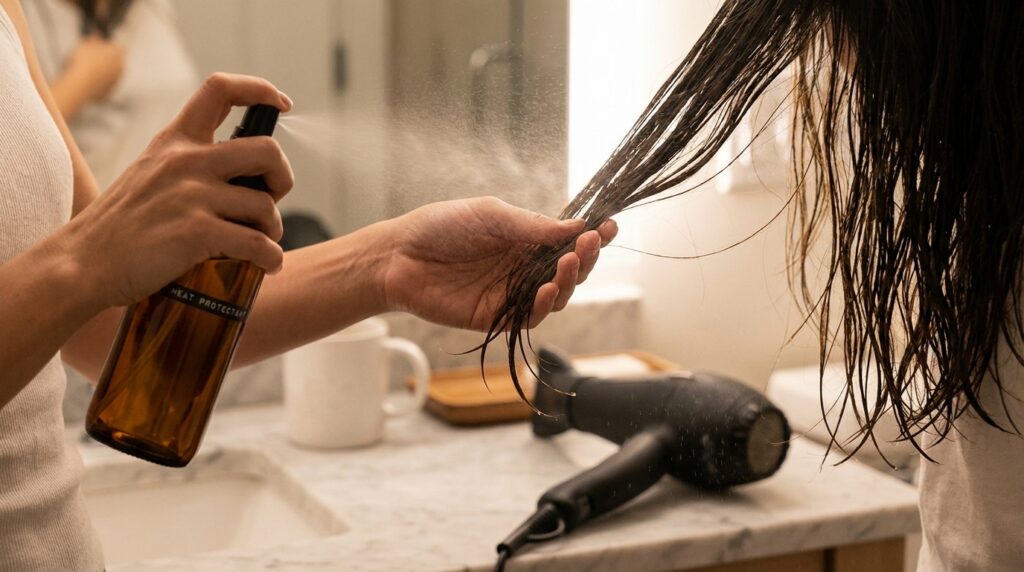
Heat protectant goes on before any heat styling tool is used, and it should be applied to damp rather than soaking wet hair. Applying heat protectant to very wet hair dilutes it significantly and reduces its effectiveness. The goal is damp hair where the protectant can coat the hair shaft evenly without being washed away by excess water.
Apply heat protectant evenly through the hair, working it through with a comb or your fingers to ensure every strand is coated rather than just the surface layer. Heat protectant that’s concentrated in some areas and absent in others leaves unprotected sections vulnerable to heat damage, which is why even distribution is as important as the product itself.
Even if you’re air-drying rather than using heat tools, a heat protectant can still be useful as a final product layer that adds some protection against environmental factors like UV exposure and humidity. For air-drying specifically, a lightweight spray heat protectant tends to work better than a thicker cream or serum that might weigh the hair down during the drying process.
Step Eight: Mousse or Volumizing Product
Mousse and volumizing products go on to damp hair before blow-drying, after heat protectant and before any finishing products. Their job is to add body, lift, and hold to the hair while it’s being dried, setting the structure of the style as the hair goes from wet to dry.
Apply mousse to the roots and mid-lengths rather than just the ends, since volume comes from the root area rather than the tips. Work it through evenly and then begin blow-drying rather than letting it sit on the hair for an extended period, since mousse works best when it’s dried into the hair rather than absorbed before drying begins.
For fine hair that needs volume, mousse is one of the most effective products available when used correctly. The mistake most people make is using too much, which weighs the hair down and creates the opposite of the intended effect. A golf ball-sized amount is usually sufficient for most hair lengths.
Step Nine: Oil or Serum
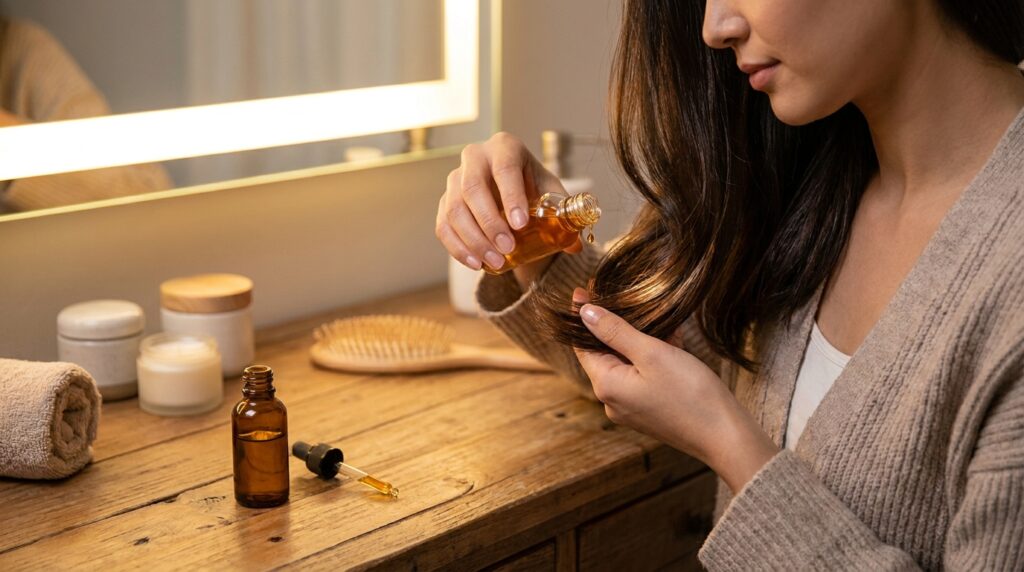
Hair oil and serum go on last, after all other products and after the hair is completely or nearly dry. This is the step most people get wrong by applying oil to wet hair at the beginning of the routine, where it creates a barrier that prevents everything else from penetrating. Oil’s job is to seal and smooth the hair’s surface, lock in the moisture already present, and add shine, which means it needs to go on after all the products it would otherwise block have already been absorbed.
Apply oil or serum sparingly to the mid-lengths and ends only, never at the roots unless you specifically have a very dry scalp that needs oil treatment. A few drops of oil warmed between the palms and smoothed over the surface of the hair is usually sufficient. Too much oil makes the hair look greasy rather than glossy.
For very thick or very dry hair types, a slightly larger amount of oil applied while the hair is still slightly damp can help lock in moisture more effectively. For fine hair, a single drop of lightweight oil applied only to the very ends prevents the frizziness that often concentrates there without weighing the rest of the hair down.
Step Ten: Finishing Products
Finishing products like hairspray, dry shampoo, texture spray, or shine spray go on last, after the hair is completely dry and styled. These products are designed to set, finish, or enhance a completed style rather than to interact with the hair during the drying process.
Hairspray applied to dry hair holds the style in place without the stiffness of products applied during styling. Applying hairspray to damp or partially dry hair can disrupt the drying process and create an uneven texture. A light mist from a distance of about twelve inches gives a natural hold without the crunchy finish that comes from applying too much too close.
Dry shampoo, despite its name, is a finishing and refreshing product rather than a replacement for washing and should be used between wash days rather than as part of the wash day routine itself. Applied to dry hair at the roots, it absorbs excess oil and adds texture and volume between washes.
Frequently Asked Questions
Can I skip steps in this routine?
Absolutely. Not every step is necessary for every hair type or every wash day. The full routine described here covers all possible steps for all hair types. Most people will skip several steps based on their hair’s specific needs. The important thing is that the steps you do use are applied in the correct order relative to each other.
Does the order matter as much for a simple routine?
Yes, even for a simple two or three product routine the order makes a difference. Leave-in before oil, heat protectant before heat tools, and moisturizing products before sealing ones are the principles that matter most even in a minimal routine.
What if I’m not washing my hair, just refreshing it?
For a refresh day, the relevant steps are a light application of leave-in conditioner or a water-based refresher spray first, followed by any curl-defining products, and finishing with a light oil or serum to seal. The same lightest-first principle applies even on non-wash days.
Why does my hair feel weighed down even when I use lightweight products? Applying products in the wrong order is one of the most common causes of this. Oil or serum applied before leave-in or moisturizing products creates a barrier that traps everything underneath and adds cumulative weight. Using too much product overall is the other common cause. Try halving the amount of each product you use and ensuring oil goes on last.
Can I mix products together before applying them?
Mixing products before applying them is generally not recommended since different formulas can interact in unpredictable ways, reduce each other’s effectiveness, or create an inconsistent texture. Applying them separately in the correct sequence allows each product to do its specific job before the next one goes on.
How long should I wait between applying each product?
For most products in a wash day routine, there’s no need to wait between applications. The exception is protein treatments, which benefit from a brief absorption period of a minute or two before the next product goes on. For finishing products on dry hair, allowing the previous product to fully dry before applying the next one produces a cleaner, more layered result.