Ways to Make Your Manicure Last Longer Without Chipping
There’s a specific kind of disappointment that comes with a manicure that chips two days after you paid for it. You sat in the salon chair, picked the perfect color, waited patiently for everything to dry, and then watched it unravel almost immediately the moment you got back to real life. It happens to almost everyone at some point, and the frustrating part is that it rarely has anything to do with bad luck. It almost always comes down to a handful of specific, fixable things.
Making a manicure last longer isn’t complicated once you understand what’s actually causing it to chip or lift in the first place. Some of the reasons are about what happens in the salon before the polish even goes on. Others are about what you do in the days afterward. And some are about daily habits you might not even realize are working against your manicure. Once you know what those things are, you can address them directly and start getting genuinely longer wear out of every manicure, whether you’re doing it yourself at home or getting it done professionally.
This guide covers everything from prep and application to aftercare and daily habits, so you have a complete picture of what it actually takes to keep a manicure looking fresh for as long as possible. It will allow to you to avoid nail problems of all sorts.
It Starts Before the Polish Even Goes On
The single most important factor in how long a manicure lasts is the preparation of the nail before any product is applied. This is the step that gets rushed most often, both in salons and at home, and it’s the one that makes the biggest difference. Polish and gel adhere to a clean, properly prepped nail surface far better than to one that hasn’t been prepared correctly, and no amount of quality product or careful application compensates for poor prep. If your manicures consistently chip earlier than expected, preparation is almost always the first place to look.
The nail surface needs to be completely free of oils, moisture, and residue before anything goes on. Natural oils from your skin constantly migrate to the nail surface, and even freshly washed hands carry enough residual moisture and oil to interfere with adhesion if the nail isn’t properly dehydrated beforehand. A nail dehydrator or a wipe-down with pure acetone immediately before application removes these oils and creates a clean, dry surface that polish can bond to properly. This one step alone can add several days of wear to a regular manicure.
Pushing back the cuticles rather than cutting them creates a cleaner edge for polish application and prevents lifting at the base of the nail, which is one of the most common places a manicure starts to go wrong. Polish applied over or too close to the cuticle tends to lift from that edge first as the cuticle naturally grows and moves, which then allows moisture and air to get underneath and accelerate chipping throughout the rest of the nail.
Buffing the nail surface lightly before application removes any ridges or uneven texture that can prevent polish from sitting flat and bonding evenly. This doesn’t mean aggressive filing that thins the nail. A gentle, light buff with a fine-grit buffer is all that’s needed to create a smooth, uniform surface that polish adheres to more consistently. It also helps the base coat grip the nail more effectively, which sets up the rest of the manicure for better longevity from the very first step.
The Base Coat Is Not Optional
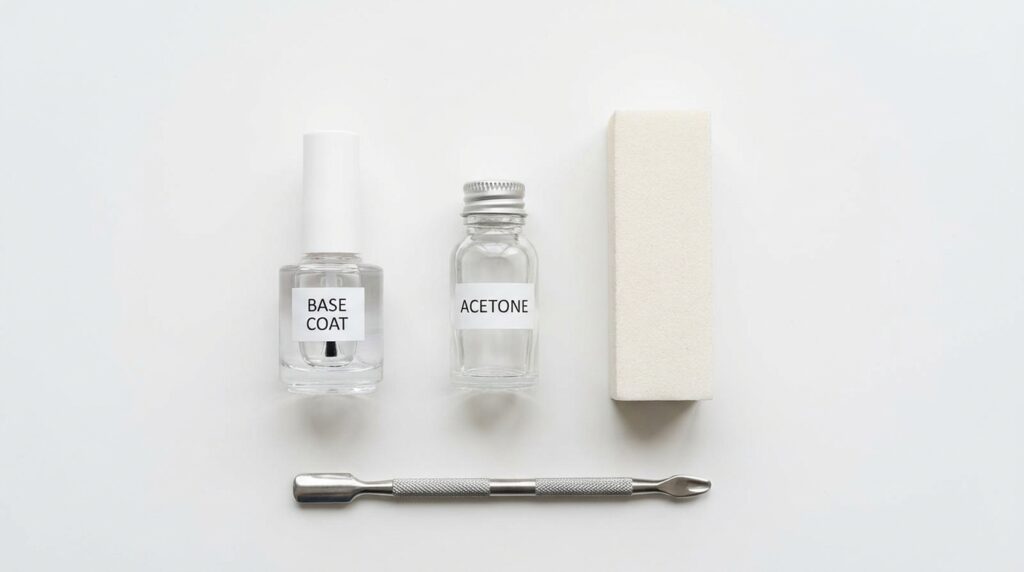
A base coat is one of the most skipped steps in a manicure and one of the most important ones for longevity. People skip it because it adds time and because the temptation to go straight to the color is strong, but a good base coat does several things that colored polish alone simply can’t do.
Base coat creates an adhesive layer between the natural nail and the colored polish. Without it, colored polish is essentially trying to bond directly to the nail surface, which it does less effectively than a purpose-formulated base coat. A base coat is specifically designed to grip the nail surface and provide something for the color to hold onto, which is why manicures done with a proper base coat consistently outlast those done without one.
A strengthening base coat adds an extra layer of benefit for nails that are weak, thin, or prone to breakage, since it provides some structural reinforcement underneath the colored polish. A ridge-filling base coat smooths out uneven nail surfaces before the color goes on, which improves the finish of the color itself as well as its durability. Choosing a base coat suited to your specific nail concern rather than just grabbing whatever is available makes a meaningful difference.
Apply the base coat in thin, even layers rather than globbing it on thickly, since thick layers take longer to dry properly and are more prone to denting and smudging. Thin layers dry faster, adhere better, and create a more stable foundation for the color that goes on top.
Color Application: Thin Layers Win Every Time
The way colored polish is applied has a direct impact on how long it lasts, and the most common application mistake is applying it too thickly. Thick layers of polish seem like they should be more durable, but in practice they dry more slowly, remain more flexible when dry, and chip more easily than thin, properly dried layers because they never fully cure through to the nail surface.
Two thin coats of color almost always outperform one thick coat in terms of both finish and longevity. The first thin coat creates a base of color that dries quickly and bonds well. The second thin coat adds depth and opacity without adding the kind of thickness that leads to premature chipping. If full opacity isn’t achieved in two coats, a third thin coat is better than making either of the first two thicker.
Wrapping the tips of the nails with each layer of polish is one of the most effective techniques for extending manicure wear. This means running the brush along the very edge of the nail tip at the end of each stroke, sealing that edge with a thin line of polish. The tip of the nail is the part that takes the most impact during daily activities, and sealing it properly prevents the chipping that typically starts at the edge and then works its way back across the nail.
Allowing each coat to dry properly before applying the next is worth the wait. Rushing this step and applying a second coat over a first that hasn’t fully dried traps wet polish underneath, which extends overall drying time, increases the risk of smudging, and reduces adhesion between layers. In the time it takes to do one hand, the first coat on the other hand has usually dried enough to continue.
The Top Coat Is Doing More Work Than You Think
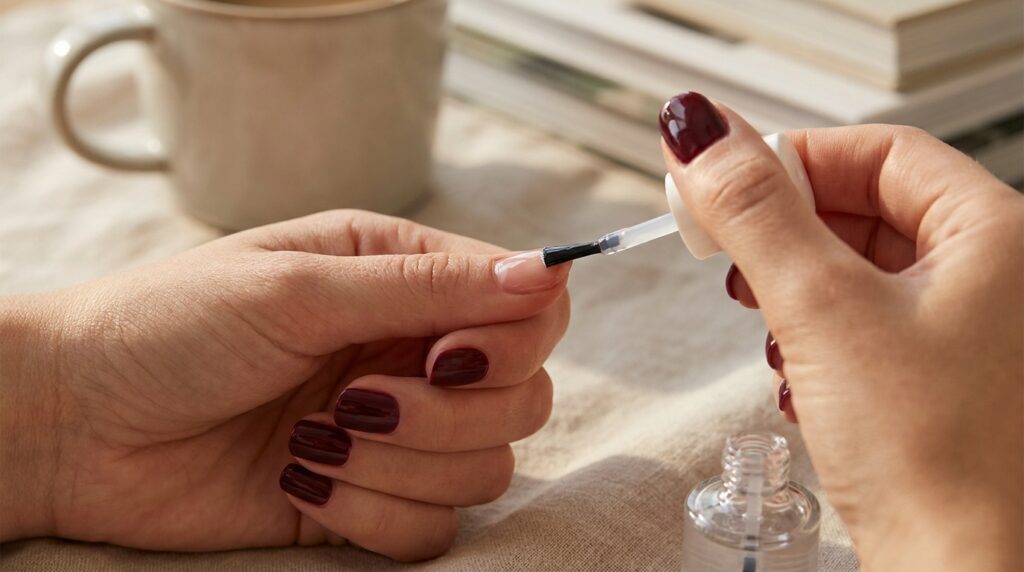
A quality top coat is arguably the single most impactful product in a manicure for longevity. It seals the color underneath, adds a protective layer over the nail surface, and provides the glossy finish that makes a manicure look freshly done. A good top coat can add days of wear to the same manicure that would chip quickly without it.
Apply the top coat over the entire nail surface and wrap the tips, just as with the color coats. The tip wrap is especially important at this stage since the top coat is the last line of defense against the chipping that almost always starts at the edge of the nail.
Reapplying a thin layer of top coat every two to three days is one of the most effective maintenance habits for extending manicure life. As the top coat wears down with daily activity, reapplying it refreshes the seal over the color underneath, restores the glossy finish, and adds another layer of protection against chipping. This one habit alone can extend a manicure’s lifespan by several days without requiring any other change to the routine.
Not all top coats are created equally. A quick-dry top coat is useful for speed but doesn’t always provide the same durability as a standard top coat formulated specifically for longevity. If your top coat has been sitting open for a long time or has thickened in the bottle, it may not be performing as well as it did when new. Replacing old, thickened top coats is worth doing if manicure wear has been consistently disappointing.
What You Do Afterward Matters Just as Much
The 24 hours after a manicure are the most critical period for longevity, even if the polish feels dry to the touch relatively quickly. Polish continues to cure and harden for up to 24 hours after application, and exposing it to water, heat, or physical stress during this window significantly increases the risk of chipping, denting, and lifting. Being a little more careful with your hands during this first day than you normally would be is genuinely worth it in terms of how much longer the manicure holds up afterward.
Avoiding hot water for at least an hour after a manicure and being careful during dishwashing, showering, or any other prolonged water exposure in the first 24 hours makes a real difference. Water causes the nail to expand slightly, and polish applied to an expanded nail can crack or lift when the nail contracts back to its normal state as it dries. This is one of the reasons manicures often chip after a shower or bath, even days after the initial application.
Wearing gloves when washing dishes or cleaning is one of the most consistently effective habits for extending manicure life regardless of when the manicure was done. Prolonged hot water exposure, combined with the chemicals in dish soap and cleaning products, is one of the fastest ways to break down both the polish and the bond between the polish and the nail. A pair of rubber gloves takes seconds to put on and can be the difference between a manicure that lasts a week and one that lasts two. It’s a small adjustment that most people resist until they try it once and notice the difference immediately.
Daily Habits That Work For and Against Your Manicure
How you use your hands throughout the day has a bigger impact on manicure longevity than most people realize. Nails are not tools, even though they’re frequently used as ones. Using the pads of your fingers rather than your nail tips to open cans, peel stickers, type, or do anything that applies direct pressure to the nail edge dramatically reduces the stress on the polish at the tip, which is where chipping almost always originates. It’s a small habit adjustment that makes a genuinely noticeable difference over the course of a manicure’s wear time.
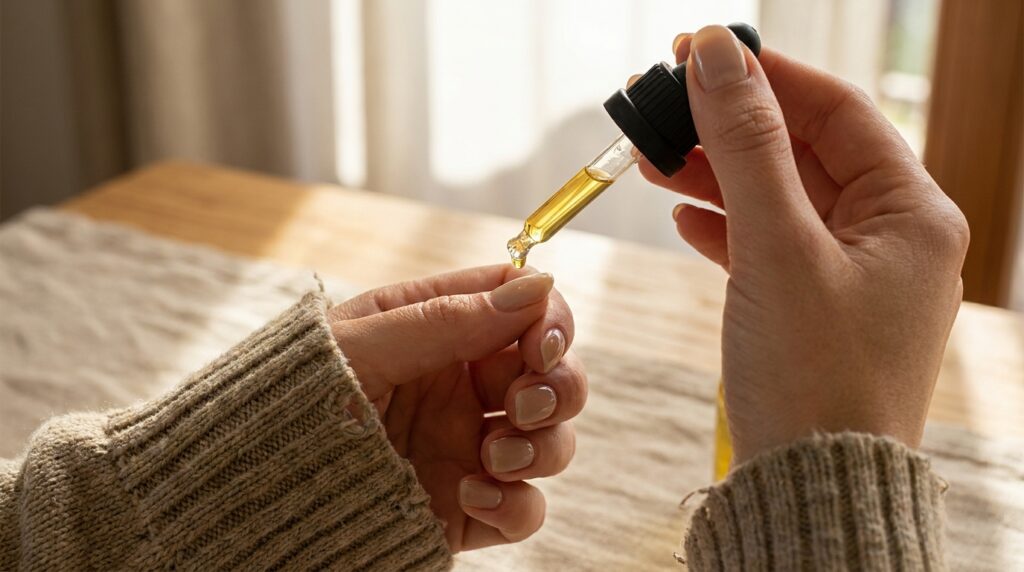
Keeping nails moisturized with cuticle oil benefits both the health of the nail and the longevity of the manicure. Well-moisturized nails are more flexible and less prone to the micro-fractures that lead to chipping. Cuticle oil applied around the edges of the nail and massaged into the cuticle area also keeps the skin around the nail soft and healthy, which prevents the lifting at the cuticle edge that shortens manicure life. Applying cuticle oil once or twice a day is a simple habit that pays off visibly over the course of a manicure’s wear time. It takes under a minute and the difference in how long a manicure stays intact is significant enough that most people who start using cuticle oil consistently notice the improvement almost immediately.
Avoiding acetone-based products on or near polished nails during the manicure period is worth being mindful of. Hand sanitizers with high alcohol content, nail polish remover accidentally contacting a nail that doesn’t need to be removed, and some cleaning products can all break down polish or top coat faster than normal wear would.
When It’s Gel or Dip Powder
Gel and dip powder manicures last significantly longer than regular polish when done correctly, typically two to three weeks for gel and three to four weeks for dip powder. But the same principles around prep and aftercare apply, and several specific habits make a meaningful difference in how well these longer-lasting options hold up.
Avoiding picking at lifting gel or dip powder is critical for both the longevity of the manicure and the health of the natural nail underneath. When gel or dip powder starts to lift at the edges, picking at it is extremely tempting but peels away layers of the natural nail along with the product, leaving the nail thin, weak, and prone to breakage. Filing down a lifting edge slightly or applying a small amount of nail glue to seal it back down buys time until a proper removal appointment.
Keeping the area around the nail dry and oil-free matters more with gel and dip powder than with regular polish, since both products are more sensitive to lifting when the bond between product and nail is compromised by moisture or oil getting underneath. Being careful around the edges during washing and applying cuticle oil to the skin around but not directly on the nail surface helps maintain the bond throughout the wear period.
Frequently Asked Questions
Why does my manicure always chip at the tips first?
The tips of the nails take the most impact during daily activities and are the most exposed part of the nail. Wrapping the tips with each layer of polish and top coat seals this edge and significantly reduces tip chipping. Reapplying top coat every few days also helps maintain the seal at the tips as it wears down.
How long should a regular polish manicure last?
A well-prepped, correctly applied regular polish manicure with a good base coat and top coat should last seven to ten days before noticeable chipping occurs on most people. Individual nail chemistry, lifestyle, and how much time hands spend in water all affect this significantly.
Does nail polish dry faster in cold or warm air?
Cool air helps polish dry faster by setting the surface more quickly. Some people use a bowl of cold water or a fan to speed up drying. Hot air and direct sunlight can actually slow drying and cause bubbling in the polish surface, which weakens the finish.
Why does my polish bubble when it dries?
Bubbling is almost always caused by applying polish too thickly, shaking the bottle rather than rolling it before use, applying polish over a coat that hasn’t fully dried, or applying in a very humid or hot environment. Thin coats, rolling the bottle gently, and allowing full drying time between coats all prevent bubbling.
Is it worth using a nail primer before polish?
For regular polish, a dehydrator and a good base coat achieve most of what a primer does. For gel manicures, a proper primer or bonding agent is more relevant and can significantly improve adhesion and wear time, particularly for people whose gel manicures tend to lift or peel sooner than average.
How do I fix a chip without redoing the whole manicure?
Apply a small amount of the same color polish to the chipped area, blend it gently into the surrounding polish, allow it to dry, and then apply a layer of top coat over the entire nail. It won’t be invisible but it extends the manicure significantly. Reapplying top coat over all the nails after the repair refreshes the whole look and helps everything blend together.