How to Do a Professional Looking Manicure at Home
There’s a certain satisfaction that comes with doing your own nails well. Not just the result, but the whole process of sitting down, taking your time, and ending up with hands that look like you just walked out of a salon. The problem is that most people’s at-home manicures don’t quite get there. The polish goes on streaky, the cleanup around the edges isn’t clean, the finish looks uneven, and within two days the whole thing is chipping anyway.
The gap between a professional-looking manicure and a mediocre one isn’t really about talent. It’s about knowing the right steps, in the right order, with the right amount of time given to each one. Professional nail technicians don’t have access to secret products or magical techniques that are unavailable to everyone else. They have a systematic process that they follow consistently, and that consistency is what produces consistent results.
This guide walks through every step of a professional-quality at-home manicure, from preparation through to finishing, with the specific details that make the difference between a result that looks homemade and one that looks like you paid for it.
What You Need Before You Start
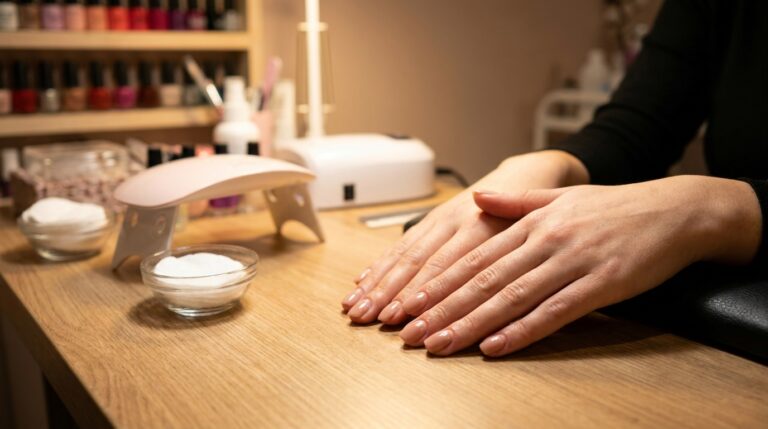
Having everything you need within reach before you begin is the first step toward a professional result, and it’s one that most people skip. Starting a manicure and then having to get up to find something mid-process means touching things before the polish is dry, rushing steps, and generally disrupting the flow of the process in ways that show up in the finished result.
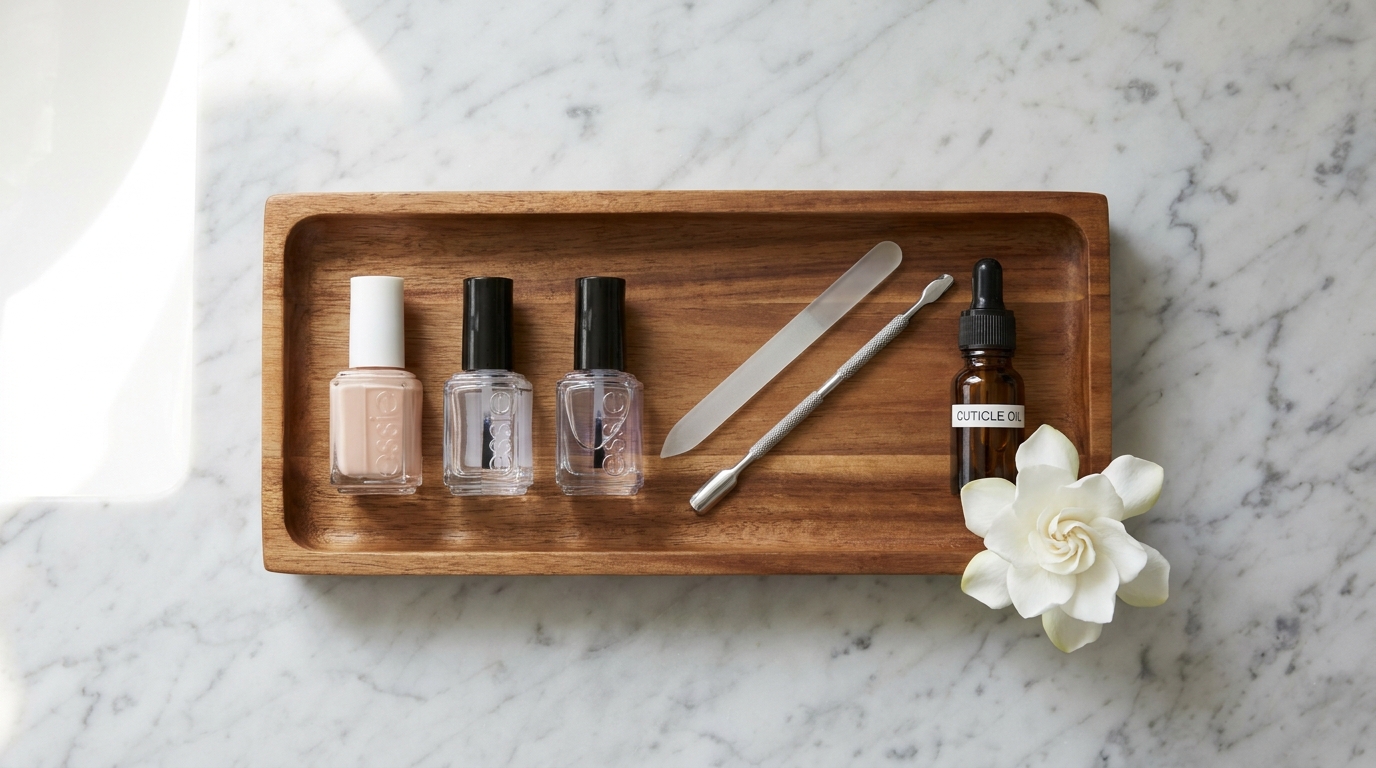
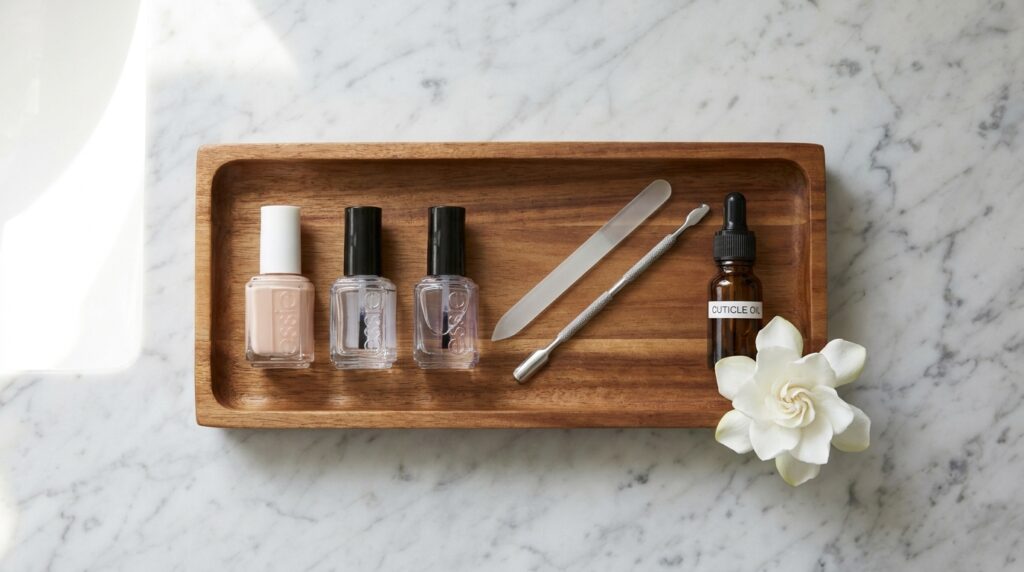
The essential tools for a professional at-home manicure are: a nail file in a medium grit, a fine-grit buffer block, a cuticle pusher, a cuticle nipper (optional but useful), a bowl of warm water, a small brush for cleanup, pure acetone, cotton pads, a base coat, your chosen color polish, a top coat, and cuticle oil. A nail dehydrator or alcohol wipe is also useful for preparation but not strictly essential if acetone is available.
Quality matters most in a few specific items. A good top coat makes more difference than almost any other single product in determining how professional the finished result looks. A quality base coat significantly affects how long the manicure lasts. The polish brush quality varies considerably between brands and affects how smoothly and evenly color goes on. Cheap tools in these three areas are worth upgrading before anything else.
Setting up your workspace properly also contributes to a professional result in ways that are easy to underestimate. A clean, flat, well-lit surface, good overhead or directed lighting that lets you see exactly what you’re doing, and a comfortable position where you can rest both hands steadily make the application significantly easier and more accurate.
Step One: Remove Old Polish Completely
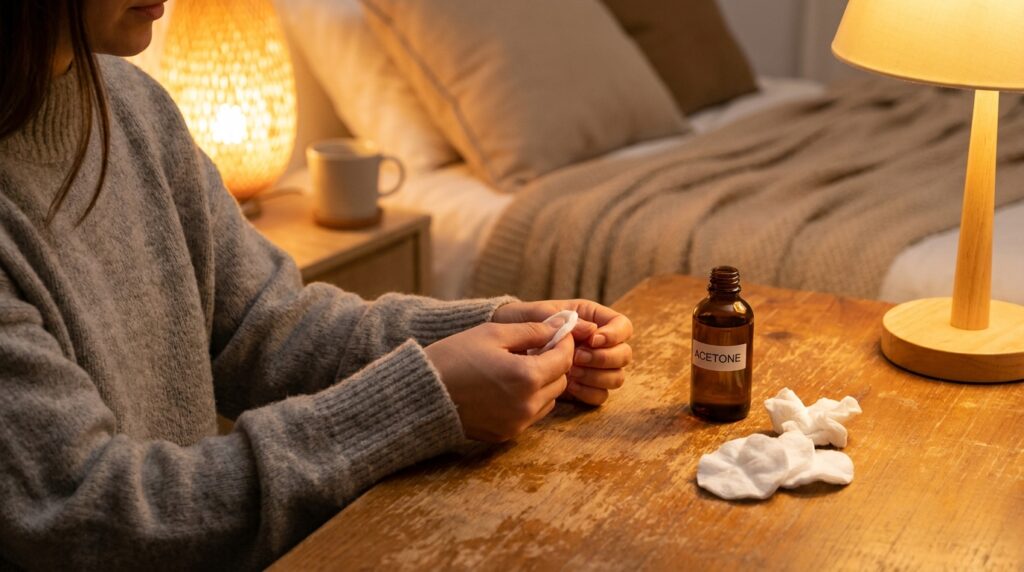
Starting with completely clean nails is more important than it sounds. Any trace of old polish, oil, or residue left on the nail surface interferes with how well the new base coat adheres, which affects how long the entire manicure lasts. A rushed removal job that leaves fragments of old color around the edges or in the grooves near the cuticle shows through the new polish and undermines the finished look.
Soak a cotton pad thoroughly in acetone and press it flat against each nail for ten to fifteen seconds before wiping rather than immediately scrubbing. Giving the acetone a moment to dissolve the polish before you move it makes removal significantly easier and more complete, particularly for darker colors and glitters that tend to stain the nail surface if scraped off immediately.
Check each nail after the first wipe and repeat if any color remains, particularly around the edges and near the cuticle. A second wipe with a fresh piece of cotton and a small amount of acetone on any stubborn areas takes less than a minute and ensures you’re starting from a genuinely clean surface.
Step Two: Shape the Nails
Filing the nails into your chosen shape before any other preparation step ensures that the shape is established before the cuticle work and buffing that follow, so you’re not disturbing already-prepared nails by filing afterward.
File in one direction rather than sawing back and forth. The back-and-forth filing motion that most people use creates micro-tears at the nail edge that lead to splitting and peeling over time. Filing in a single direction from the side toward the center on each side of the nail produces a cleaner, stronger edge.
The most important thing about shaping is consistency across all ten nails. Slightly different lengths or shapes on different fingers is one of the most noticeable signs of a home manicure done without care. Taking the time to check each nail against its pair on the other hand and adjusting until they match is what produces a result that looks intentional and professional rather than approximate.
After filing, use a fine-grit buffer to very lightly smooth the nail surface. This removes any ridges, bumps, or uneven texture that would show through polish, particularly through lighter colors and sheers. The key word is lightly. The goal is a smooth, even surface, not aggressively thinning the nail plate.
Step Three: Soften and Prepare the Cuticles
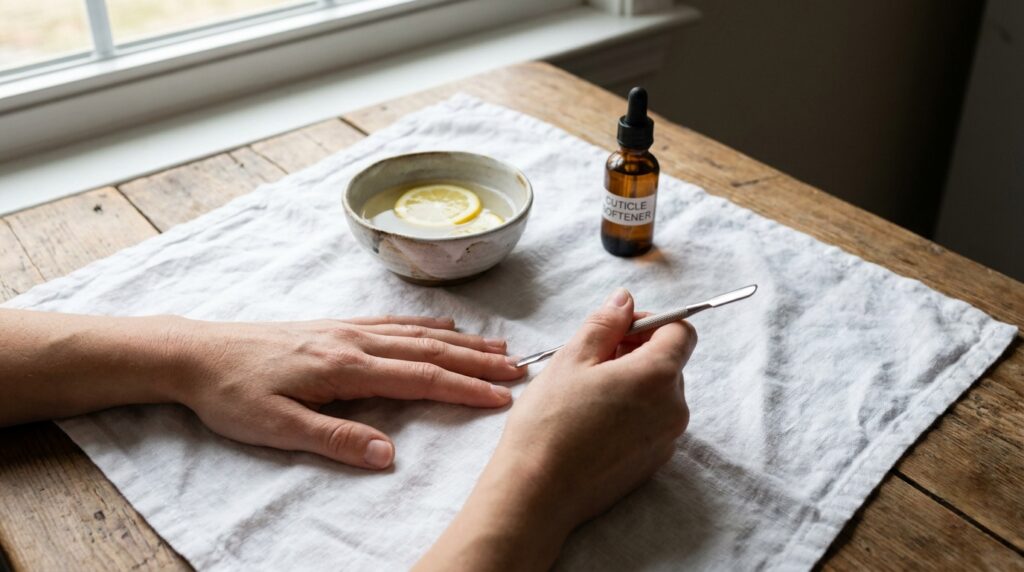
Cuticle preparation is the step that most dramatically separates a professional-looking manicure from a home one, and it’s also the step that most people either rush or skip entirely. Well-managed cuticles give the manicure a clean, defined edge that makes the polish application look precise and intentional. Neglected cuticles create an uneven, untidy border that undermines the whole result regardless of how carefully the polish is applied.
Soak the fingertips in warm water for three to five minutes to soften the cuticles before working on them. Alternatively, apply a cuticle softening product to each nail and leave it for a couple of minutes. Working on dry, unsoftened cuticles is harder, less effective, and more likely to cause discomfort.
Use a cuticle pusher to gently push the softened cuticle back toward the base of the nail, using small circular motions rather than pushing straight back with force. The goal is to expose the full nail plate and create a clean edge at the base of the nail where the polish will start, without tearing or damaging the cuticle itself.
Cuticle nippers are optional but useful for removing any hangnails or small pieces of dry skin that the pusher can’t address. Use them carefully and sparingly, only on loose, dead skin rather than trying to cut back the living cuticle, which can cause soreness and increase the risk of infection.
Dry the hands thoroughly after the soak and wipe each nail with acetone or a dehydrating wipe to remove any moisture or oil before moving to the next step. Water and oil on the nail surface prevent the base coat from adhering properly, which is one of the main reasons at-home manicures lift and chip sooner than expected.
Step Four: Apply Base Coat
A base coat is not optional in a professional manicure, and the way it’s applied matters as much as whether it’s used at all. A base coat serves multiple functions simultaneously: it creates an adhesive surface for the color to bond to, it protects the natural nail from staining by darker polishes, and depending on the formula, it can add strengthening, ridgefilling, or growth-promoting benefits.
Apply the base coat in thin, even strokes, starting from the center of the nail and moving to each side. Three strokes per nail, one down the center and one on each side, is the standard professional application method. This produces even coverage without flooding the edges or creating thick patches that take longer to dry.
Cap the tip of the nail with the base coat by running the brush along the very edge of the nail at the end of each application. This tip-capping technique seals the edge of the nail and significantly reduces tip chipping, which is where most manicures start to fail first.
Allow the base coat to dry completely before applying color. This takes about sixty to ninety seconds for most formulas. Applying color over a wet base coat traps moisture underneath and extends drying time for the entire manicure, increasing the risk of smudging and reducing adhesion.
Step Five: Apply Color in Thin Coats
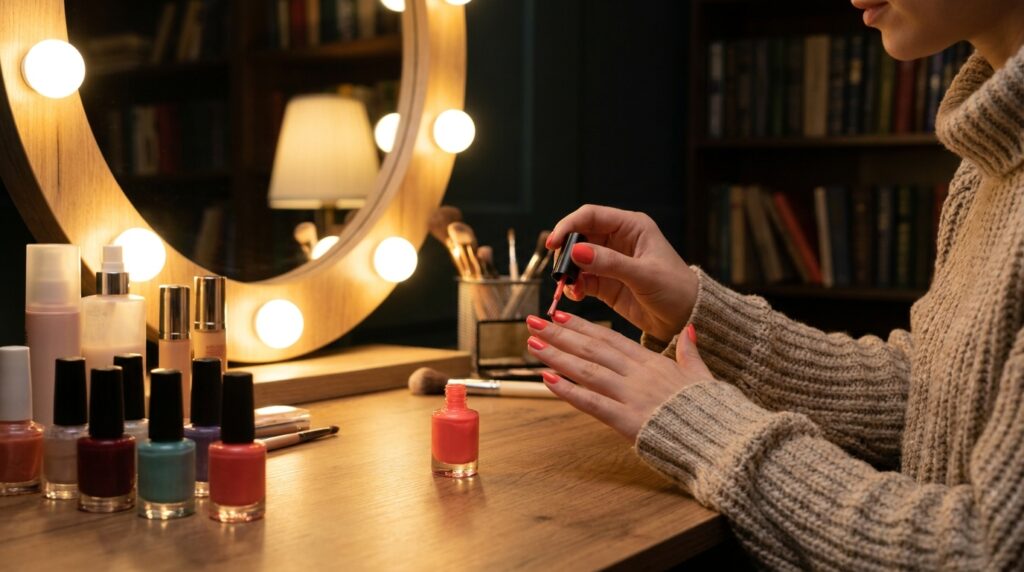
Color application is where most at-home manicures go wrong, and the mistake is almost always applying too much polish at once. Thick coats of polish take much longer to dry properly, remain flexible and prone to denting for an extended period, and tend to bubble, streak, and peel more readily than thin coats. The professional approach is always two or three thin, even coats rather than one thick one.
Load the brush correctly before each stroke. Wipe one side of the brush on the neck of the bottle to remove excess polish, leaving a small, even bead of product on the other side. This controls the amount of polish on the brush and prevents flooding the nail with too much product in a single stroke.
Apply the first coat using the same three-stroke method as the base coat: center first, then each side. Start the stroke slightly away from the cuticle rather than right at it, and then go back with a light touch to bring the polish as close to the cuticle as possible without touching the skin. Leaving a very small gap between the polish and the cuticle, about a millimeter, gives the manicure a clean edge and prevents the lifting that happens when polish touches the cuticle skin.
Allow the first coat to dry until it is no longer tacky before applying the second. This typically takes two to three minutes. The second coat goes on using the same technique and produces the full depth of color, correcting any uneven areas from the first coat. If full coverage isn’t achieved in two coats, a third thin coat is always better than making either of the first two thicker.
Cap the tips with each coat of color just as with the base coat, sealing the edge to reduce chipping.
Step Six: Clean Up the Edges
Precise cleanup around the edges is one of the clearest markers of a professional-quality manicure, and it’s a step that requires a small additional tool but makes a dramatic difference to the finished result.
A small, thin brush dipped in pure acetone is the most effective cleanup tool. A liner brush or a specialist cleanup brush works best because the narrow tip allows for precise work right up to the edge of the polish without accidentally removing polish from the nail itself.
Work around the edges of each nail immediately after the color is applied rather than waiting until the end of the manicure. Cleanup is significantly easier when the polish is still slightly soft than when it has fully hardened. Use the brush dipped in acetone to neaten any polish that has touched the skin, working in small, precise strokes rather than large sweeping movements.
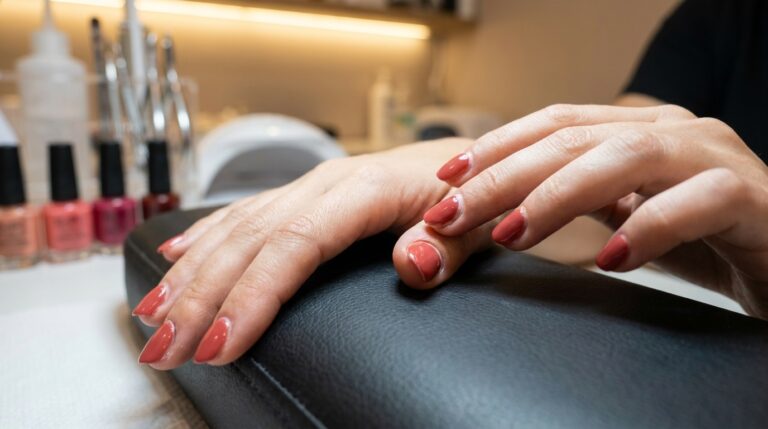
Check each nail under good lighting from multiple angles to catch any uneven edges or skin contact that’s easy to miss straight on. The sides of the nails near the corners and the area right at the cuticle line are where polish most commonly touches the skin, and catching these areas during cleanup produces a crisp, defined edge that reads as professional.
Step Seven: Apply Top Coat
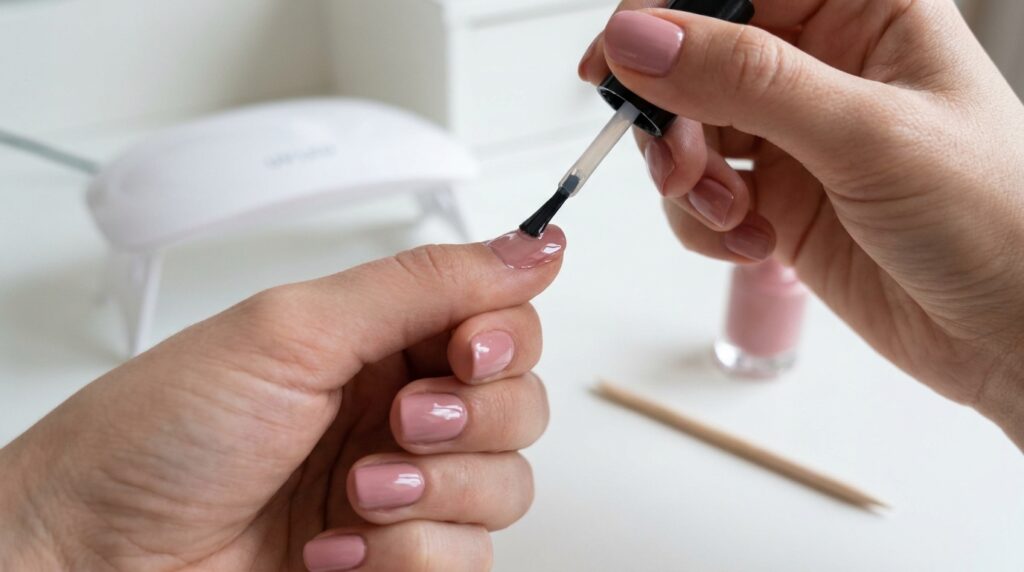
The top coat is the step that most determines how professional the finished manicure looks and how long it lasts, and it deserves the same care and attention as the color application rather than being treated as a quick finishing step.
Apply the top coat using the same three-stroke method and cap the tips exactly as with the base coat and color. The top coat seals all the layers underneath, adds the glossy finish that reads as freshly done, and provides a protective layer over the color that significantly extends the manicure’s life.
A quality top coat dries to a genuinely hard, glossy finish rather than remaining slightly flexible or dull. If your current top coat isn’t producing a truly high-gloss, hard finish, it’s worth replacing, since this single product has the biggest impact on how polished and professional the finished result looks.
Reapplying a thin layer of top coat every two to three days refreshes the seal and the gloss and extends the manicure significantly. This is one of the most effective maintenance habits for making an at-home manicure last as long as a professional one.
Step Eight: Apply Cuticle Oil and Finish
Cuticle oil applied at the end of the manicure is the finishing touch that pulls the whole result together. It moisturizes the skin around the nail, gives the cuticle area a healthy, tended look that contributes significantly to the overall professional impression of the manicure, and helps the nails stay healthy between manicures.
Apply a small drop of cuticle oil around each nail and massage it gently into the cuticle and surrounding skin. Avoid applying oil directly to the polish immediately after the top coat since it can interfere with the final drying of the top coat. Waiting five to ten minutes after the top coat before applying cuticle oil is the safer approach.
The hands after a properly finished manicure should look as well-maintained as the nails themselves. If the skin around the nails is dry, applying a small amount of hand cream after the cuticle oil and after the nails are completely dry completes the professional look that a salon manicure produces.
Frequently Asked Questions
How long does a professional at-home manicure take?
Done properly, the full process takes between 45 minutes and an hour, including drying time between steps. Rushing the process and not allowing adequate drying time between coats is the single most common reason at-home manicures look amateur and chip quickly. Building in enough time to do each step properly is what produces a professional result.
How do I stop my polish from bubbling?
Bubbling is almost always caused by applying polish too thickly, shaking the bottle rather than rolling it before use, applying over a coat that hasn’t dried fully, or working in a very warm or humid environment. Rolling the bottle gently between your palms rather than shaking, applying thin coats, and ensuring adequate drying time between coats addresses all of these causes.
How do I get a really clean line at the cuticle?
The cleanup brush dipped in acetone technique described above is the most reliable method. The key is doing the cleanup while the polish is still slightly soft rather than fully hardened, working in small precise strokes, and checking from multiple angles under good lighting. Practice significantly improves this skill over time.
Why does my polish peel off in sheets rather than chipping?
Peeling in sheets almost always indicates that the nail surface wasn’t properly dehydrated before the base coat was applied, either because of natural nail oils, residual hand cream or lotion, or moisture from water. Wiping each nail with acetone immediately before the base coat, even if the nails look clean, eliminates this problem.
How long should I wait before doing anything with my hands after a manicure? Polish feels dry to the touch within fifteen to twenty minutes but continues to cure and harden for up to 24 hours after application. Being careful with hands for at least two hours after completing the manicure and avoiding prolonged water exposure for the first 24 hours produces a significantly longer-lasting result than treating the nails as fully set as soon as they feel dry.
Can I do a professional-looking manicure with gel polish at home?
Yes, with a home gel kit that includes a UV or LED lamp. The preparation and cleanup steps are the same as for regular polish. The main differences are that each gel layer needs to be cured under the lamp rather than air dried, and removal requires a soak-off process with acetone rather than simply applying new polish over old. Home gel manicures can produce results very close to a professional gel service when the steps are followed carefully.