French Manicure Techniques for a Salon Quality Look
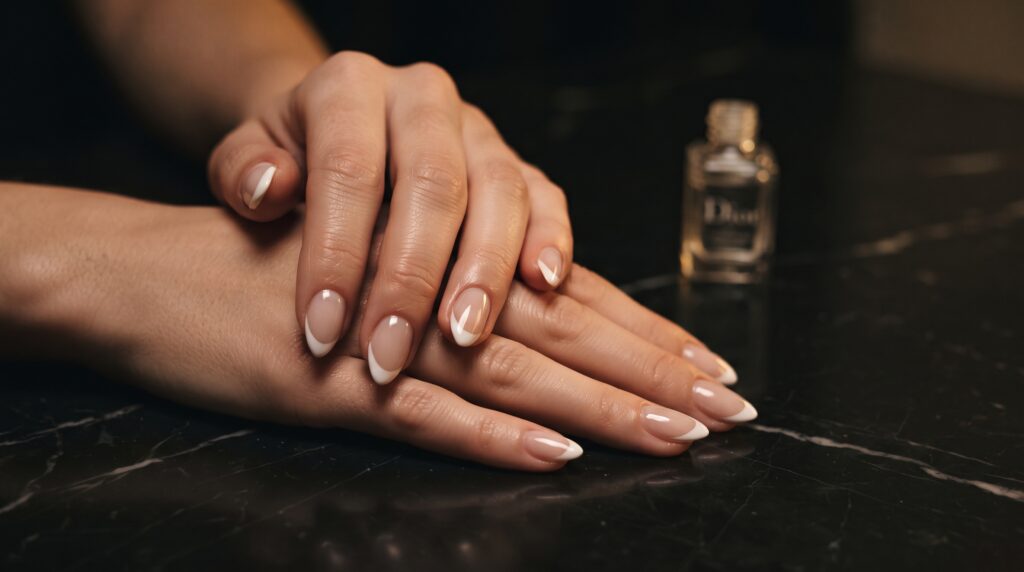
The french manicure is one of those nail looks that never really goes out of style. It is clean, polished, and works with everything from a casual outfit to a formal occasion without ever looking out of place. It is also one of the most requested salon services, which makes the cost of maintaining it add up quickly if you are going in every two to three weeks.
The good news is that a french manicure is genuinely achievable at home once you know the right technique and have the right tools. The white tip that makes it look so clean and precise is the part most people struggle with, but there are several tricks that make it significantly easier than it appears. This guide walks through the full process from prep to finish, including the technique tips that separate a salon-quality result from a wobbly, uneven attempt. Whether you are doing it for the first time or have tried before and struggled with the smile line, the steps below cover everything you need to know to get it right.
What You Need
Having everything ready before you start is one of the most important factors in getting a clean result. A french manicure requires more precision than a single-color manicure, and stopping mid-process to search for something you have forgotten disrupts the flow and can cause mistakes.
You will need a base coat, a white nail polish or french manicure white tip pen, a sheer pink or nude polish for the nail bed, a clear top coat, a nail file, a cuticle pusher or orange stick, cuticle oil, nail polish remover and a small cleanup brush or cotton swabs, and acetone for cleaning up edges. French manicure guides or stickers are optional but useful for beginners who want a more precise smile line. A good quality white polish that is opaque but not too thick makes the biggest difference to the final result.
Prep Your Nails
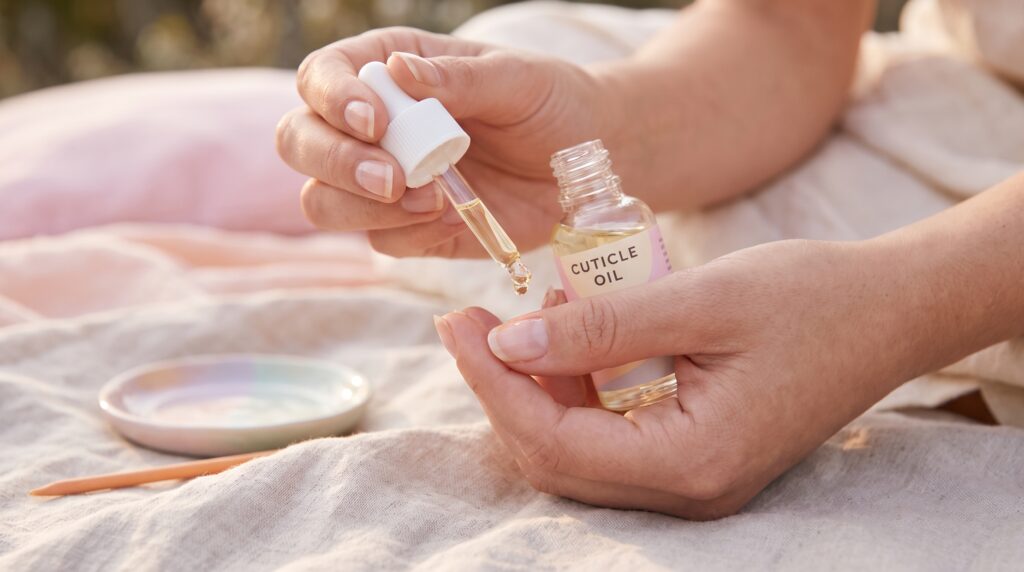
Clean, prepped nails are the foundation of any long-lasting manicure, and a french manicure in particular shows every imperfection in the prep since the clean white tip draws attention to the condition of the nail beneath it.
Start by removing any existing polish completely with nail polish remover. Wash your hands thoroughly and dry them completely before starting. Apply cuticle oil to each nail and the surrounding skin and let it absorb for a few minutes. This softens the cuticles and makes them easier to push back without tearing. After the oil has absorbed, wash your hands again to remove the oil from the nail surface since any oil left on the nail will prevent the polish from adhering properly. If your nails have any ridges or rough patches on the surface, a gentle nail buffer can smooth them out before you apply the base coat. A smooth nail surface makes the white tip look cleaner and more even once it is applied.
Shape and File
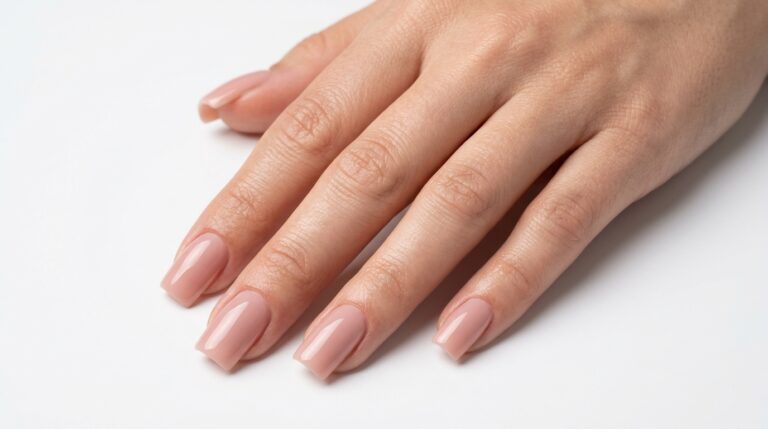
The shape of the nail affects how the white tip looks, so it is worth taking time to get it right before applying any polish. The classic french manicure works best on a slightly rounded or oval nail shape. A very square nail with sharp corners can look harsh against the curved smile line, and a very pointed nail makes the tip application much more difficult.
File your nails in one direction rather than sawing back and forth, which weakens the nail and causes splitting. Work from the outside edge toward the center on each side rather than filing straight across. Check each nail against the others to make sure they are all approximately the same length and shape. Uneven nails are obvious once polish is applied and impossible to fix without filing again, which is easier to do before any product goes on the nail.
Push Back Your Cuticles
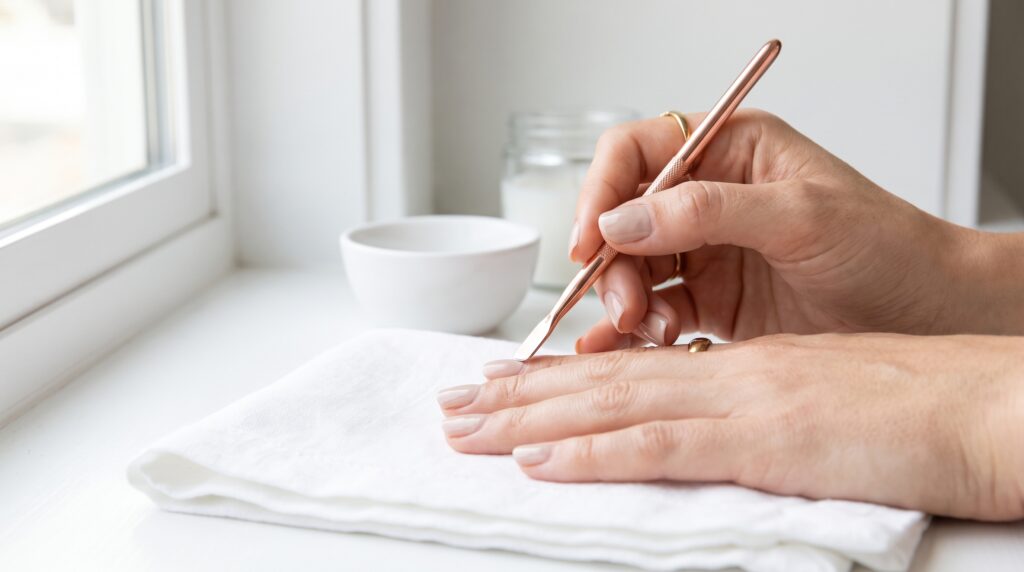
Pushing back the cuticles creates a clean nail surface for polish and makes the finished manicure look more professional. Cuticles left sitting on the nail plate can cause polish to lift prematurely and make the nail look shorter than it is.
Use a cuticle pusher or the flat end of an orange stick to gently push the cuticle back toward the base of the nail. Work in small circular motions rather than pressing straight back with force, which can tear the cuticle. Do not cut the cuticles unless you are experienced with doing so, since cutting too aggressively can cause infection and soreness. If there is any dry or lifted skin around the nail edge, a small pair of cuticle nippers can remove it carefully, but the actual cuticle itself is better left intact and simply pushed back.
Apply a Base Coat
A base coat does two important things: it protects the nail from staining, which matters especially with white polish, and it gives the colored polish something to grip onto so it lasts longer. Skipping the base coat is one of the most common reasons a home manicure chips or peels within the first day or two.
Apply a thin, even layer of base coat to each nail and allow it to dry completely before moving on. A sticky base coat works particularly well under a french manicure since it holds the subsequent layers firmly in place. Do not apply a thick layer in the hope that it will build more protection. Thick layers take longer to dry and are more prone to denting and smudging. Thin is always better with nail polish at every stage of the process.
Apply the White Tip
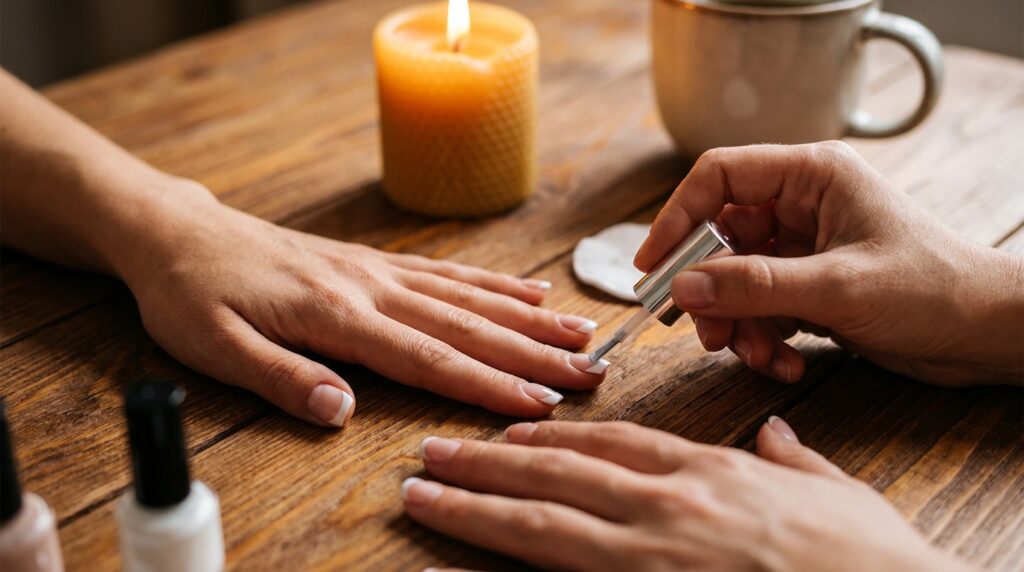
The white tip is the step most people find most challenging, and it is the one that defines the look, so it is worth doing slowly and carefully. There are several approaches, and the right one depends on your experience level and how steady your hand is.
The freehand method involves painting the white tip directly onto the nail using the polish brush, following the natural curve of the nail tip. Load the brush with a small amount of white polish and use the side of the brush to create the curved edge of the smile line before filling in the tip. Start in the center and work toward each side. This takes practice to get consistent across all ten nails.
The guide method uses adhesive french manicure stickers or guides that you stick just below where the tip will be, creating a straight or curved line to paint against. This produces a very clean edge and is a good starting point for beginners. Peel the guide off before the polish is completely dry to avoid pulling up the polish with it.
The tip pen method uses a white nail polish pen with a narrow felt tip, which gives far more control than a standard polish brush. Tip pens are designed specifically for the french manicure smile line and are worth buying if you plan to do french manicures regularly at home.
Regardless of which method you use, apply the white in two thin layers rather than one thick layer. A thick white layer looks heavy and tends to drag rather than apply smoothly. Let the first thin layer dry before adding the second.
The Smile Line Trick
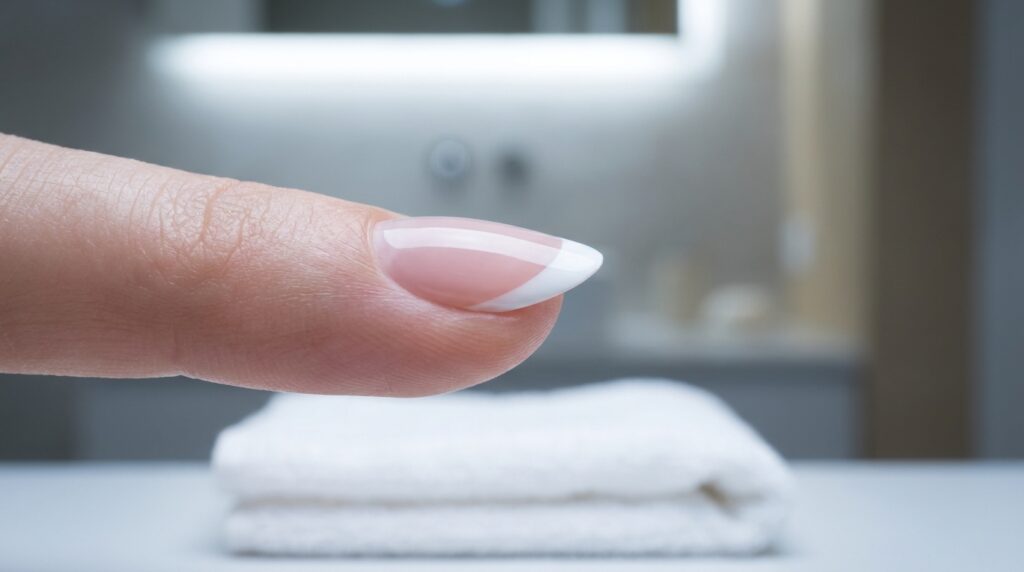
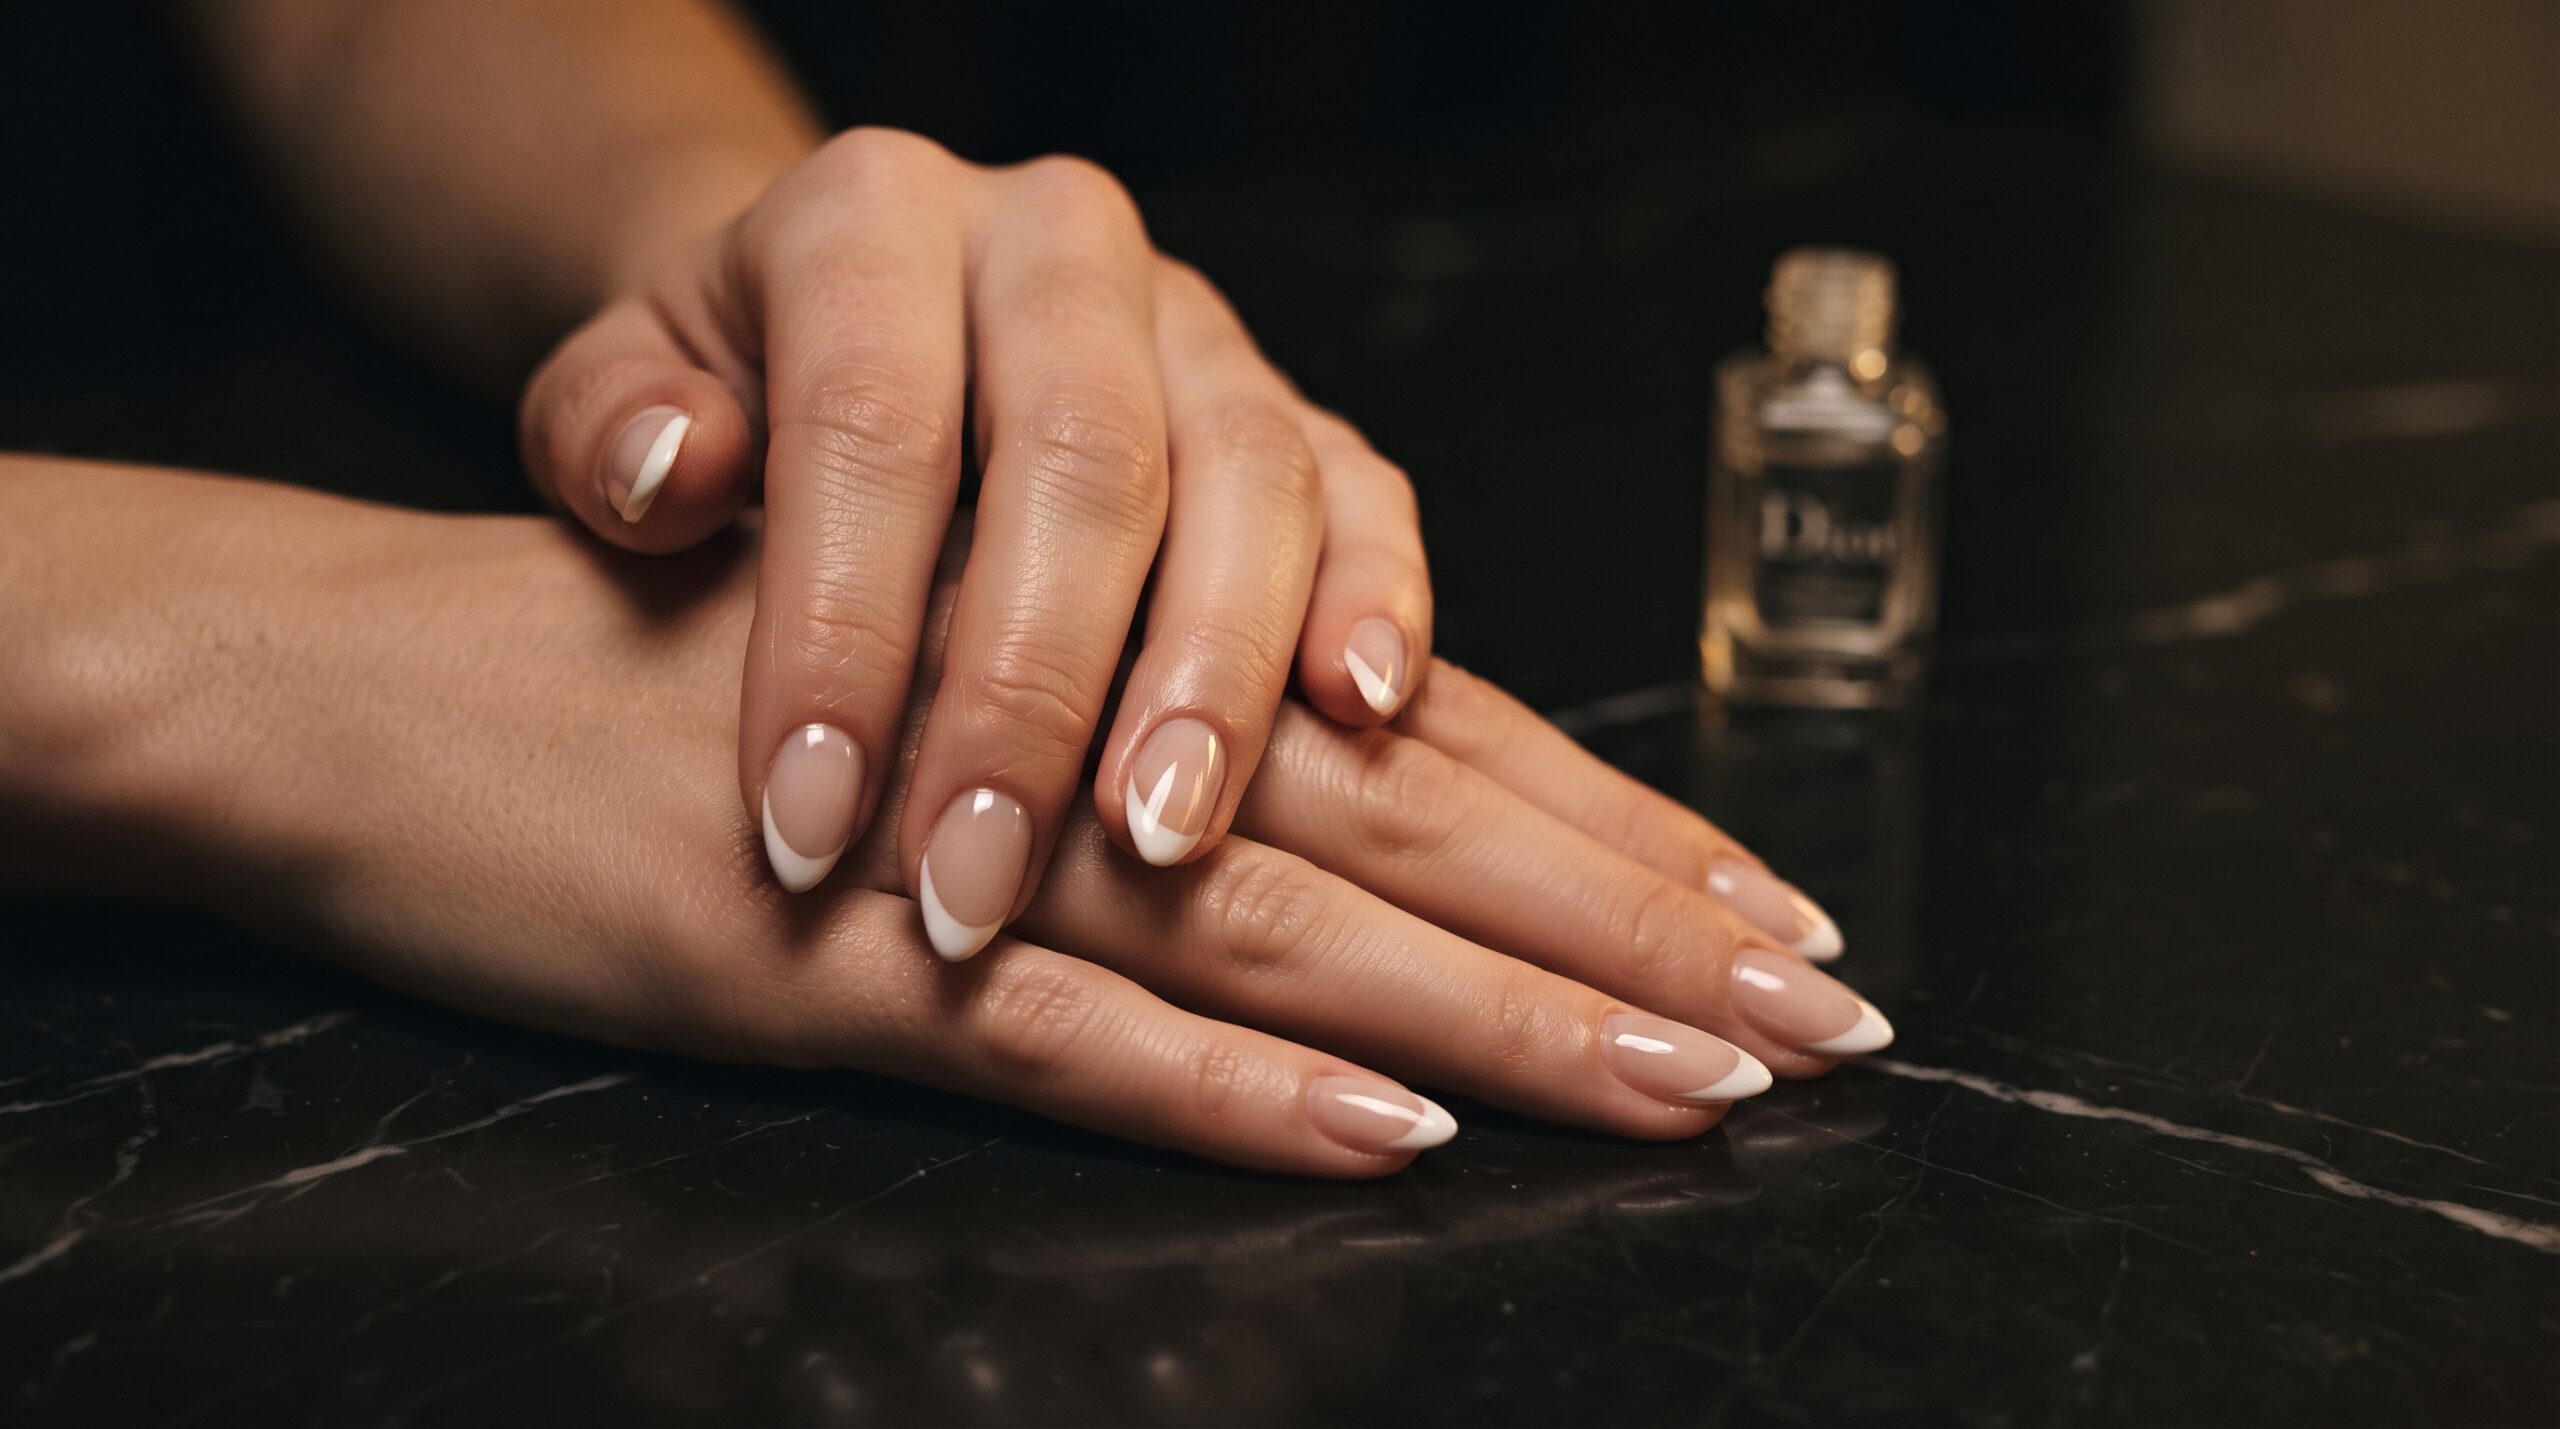
The smile line is the curved edge where the white tip meets the natural nail, and getting it to look clean and even is the real skill of a french manicure. A consistent smile line across all ten nails is what makes the look polished rather than amateur.
The natural nail has a white free edge that forms a curve, and the smile line of the french manicure follows this curve. If you are freehand painting, use this natural line as your guide and try to paint just slightly beyond it. The curve of a classic french smile line is gentle rather than dramatic. A very deep, sharp curve can look artificial and dates the look. A shallower, more natural curve is more wearable and easier to paint consistently.
If your smile line wobbles, do not try to correct it with more white polish while it is still wet since this usually makes it worse. Let it dry and then use the cleanup brush and acetone to tidy the edges.
Clean Up the Edges
A cleanup brush dipped in acetone is one of the most useful tools for a home manicure, and using it well is what separates a professional-looking result from one that looks uneven.
A small, flat brush dedicated to cleanup allows you to work along the smile line and around the edges of the nail with precision. Dip it in acetone, wipe off the excess on a tissue so the brush is damp but not dripping, and then work carefully along any areas where the white has gone beyond where you intended. Small corrective strokes with a damp brush are much more controlled than a cotton swab, which tends to remove too much polish at once.
Cotton swabs have their place for removing larger amounts of polish from the skin around the nail, but a pointed brush gives you control for the smile line specifically. Take your time with this step. Getting it right here makes the finished result look considerably more precise.
Apply a Sheer Pink or Nude Layer
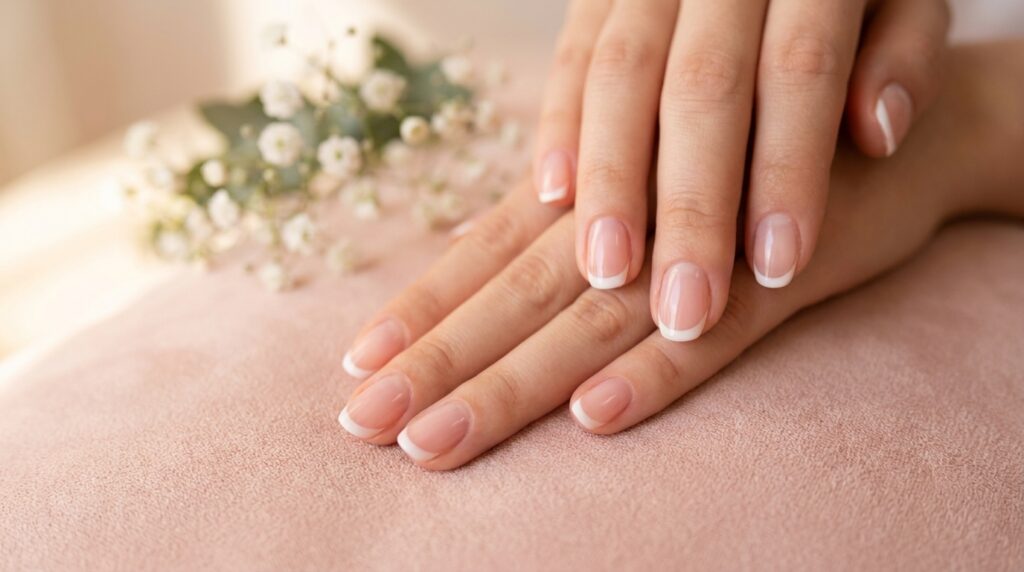
The sheer pink or nude layer is what gives the nail bed that healthy, slightly rosy glow that makes the french manicure look so flattering. It also helps blend the base of the white tip into the nail so the look reads as polished rather than painted.
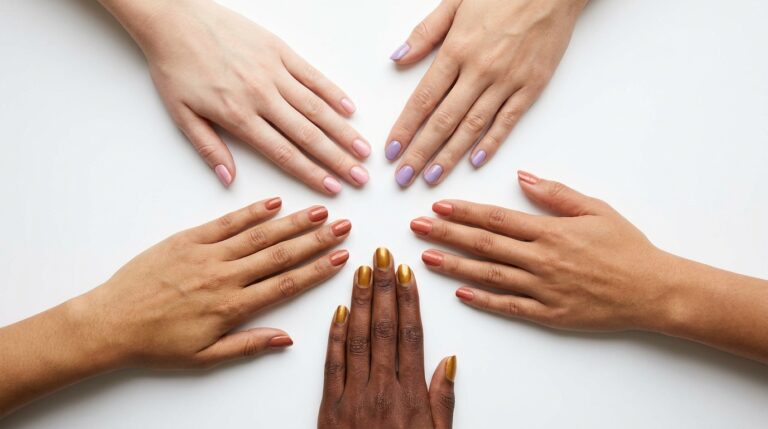
A sheer pink works on most skin tones and gives that classic french manicure finish. A very sheer nude works particularly well on deeper skin tones and creates a more modern, toned-down version of the look. Apply one or two thin layers depending on the sheerness of the polish. The goal is a wash of color rather than full opacity, so the natural nail shows through slightly.
This layer also helps disguise any minor imperfections in the smile line by blending the transition between the white tip and the nail. It will not hide significant problems, but small wobbles in the line become less noticeable once this layer goes on.
Seal With a Top Coat
The top coat is not optional if you want the manicure to last. A good top coat seals all the layers beneath it, adds shine, and significantly extends how long the manicure stays chip-free.
Apply one thin, even layer of top coat over the entire nail, including a swipe across the very tip of the nail edge. Sealing the tip is particularly important for preventing tip wear, which is where chipping typically begins. Allow the top coat to dry fully before touching anything. Quick-dry top coats are genuinely faster than standard formulas and worth using if you are short on time. Avoid top coats with a matte finish for a traditional french manicure since the high gloss is a central part of the look and is what gives it that fresh-from-the-salon appearance.
Reapplying a thin layer of top coat every two to three days extends the life of the manicure noticeably, especially on the tips.
How to Make It Last
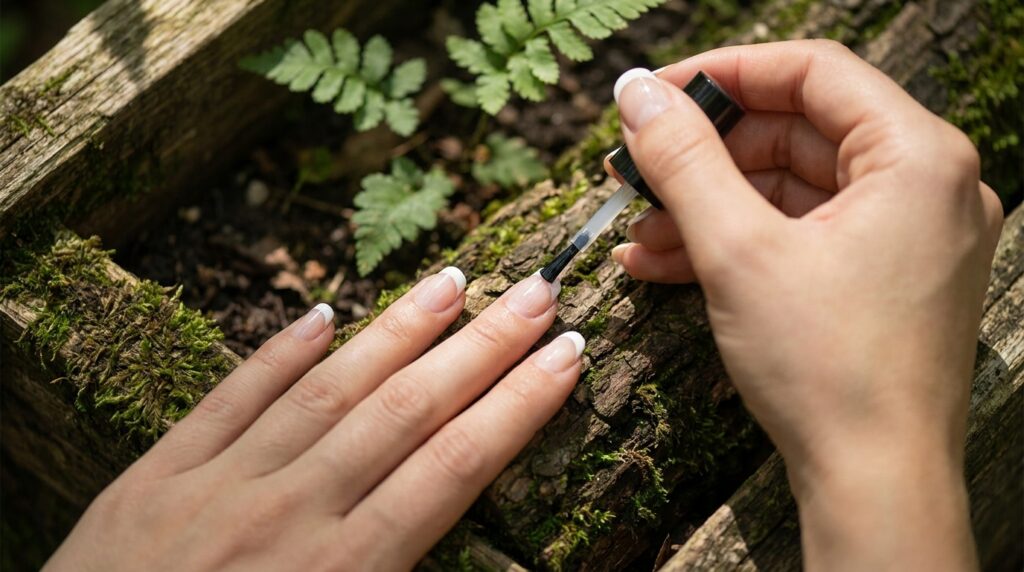
A home french manicure can last up to a week with the right habits after application. Most chipping happens in the first twenty-four hours while the polish is still fully curing, so being careful with your hands immediately after doing your nails is particularly important.
Avoid soaking your hands in water for at least an hour after finishing. Wear gloves for washing dishes and cleaning since detergents break down nail polish quickly. Apply cuticle oil daily to the skin around the nail rather than to the nail itself, since oil on the nail surface can lift the top coat. When the tips start to show wear after several days, a fresh coat of top coat can revive the look without having to redo the entire manicure. Try to use your fingertips rather than your nails when opening cans, peeling stickers, or typing aggressively, since impact at the tip edge is one of the fastest ways to cause chipping. Small daily habits like these make a noticeable difference to how long the manicure holds up between redos.
Modern French Manicure Variations
The classic white tip on a sheer pink base is the original, but the french manicure format has expanded into a wide range of modern interpretations that work with the same technique and tools.
The colored tip french manicure replaces the white with a soft color, usually a pastel or a neutral, for a more contemporary look. Pale lavender, soft sage, and warm beige tips are popular alternatives to the classic white. The technique is identical to the classic version, and these softer colors tend to be more forgiving on the smile line since the contrast with the nail bed is less stark.
The reverse french manicure applies the contrasting color to the base of the nail rather than the tip, creating a moon manicure effect at the cuticle end. This is a striking variation that works well as a graphic, modern look.
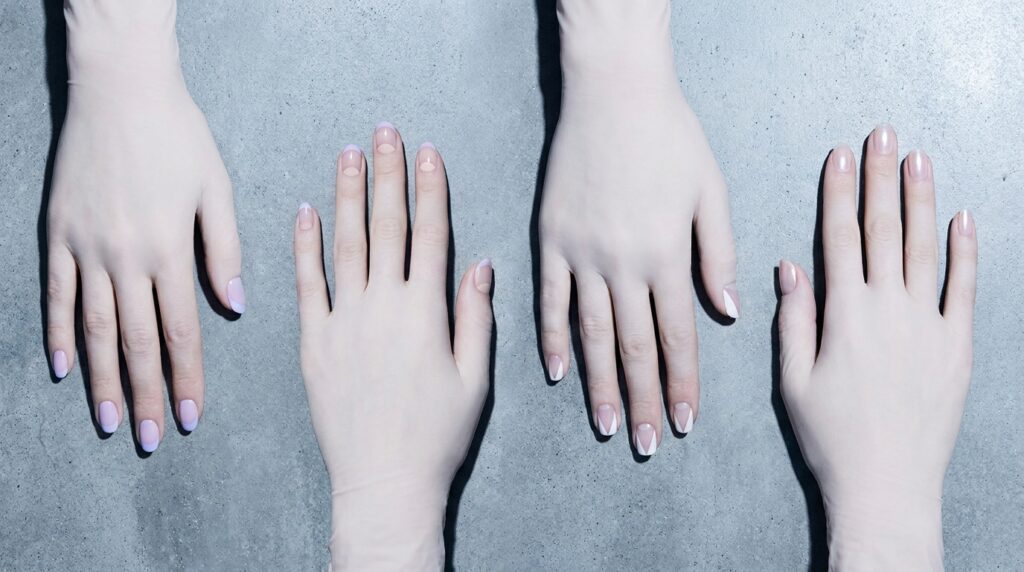
The negative space french manicure leaves part of the natural nail unpainted, using the clear nail itself as part of the design. A thin line of color or a simple geometric shape at the tip creates a minimal, architectural effect that works particularly well on longer nails.
The glazed donut nails trend updated the french manicure by using a sheer, ultra-glossy nude or white tint across the entire nail with a high-shine finish rather than a distinct tip line, giving a similar clean effect with a more seamless look. All of these variations use the same foundational technique as the classic french manicure, so once you are comfortable with the original, experimenting with these alternatives is simply a matter of switching up the colors or placement.
Frequently Asked Questions
How long does a home french manicure take?
Allow between forty-five minutes and an hour for a full french manicure at home including prep, polish application, and drying time. Rushing any step produces a less clean result, so building in enough time is part of getting it right. The first few times will take longer as you get comfortable with the technique.
What is the best white polish for a french manicure?
A white polish that is opaque in two thin coats but not too thick in consistency produces the cleanest result. Very thick white polish tends to drag and streak rather than applying smoothly. A french manicure tip pen or a thin brush polish designed specifically for french tips gives more control than a standard polish brush for beginners.
How do I fix a wobbly smile line?
The cleanup brush dipped in acetone is your best tool for tidying an uneven smile line. Work slowly and carefully along the edge, removing small amounts at a time rather than trying to correct a large area at once. The sheer pink layer applied afterward also helps disguise minor imperfections in the line.
Can I do a french manicure on short nails?
Yes, though the white tip needs to be kept very thin on short nails to look proportionate. A very wide white tip on short nails can look overwhelming and artificial. A thin, barely-there white tip on short nails looks more natural and elegant than a thick application.
How do I remove a french manicure at home?
A standard acetone or non-acetone nail polish remover removes a regular french manicure. Soak a cotton pad in remover, press it against the nail for ten to fifteen seconds, and then wipe away. The white polish may require slightly more remover than a single-color polish since it tends to be more pigmented. Avoid scrubbing the nail surface aggressively during removal.
Why does my white tip turn yellow?
Yellowing of the white tip is usually caused by applying white polish directly onto the natural nail without a base coat, which allows pigment from the white to stain the nail surface. Always using a base coat prevents this. If the white polish itself appears yellowish, it may have oxidized and is worth replacing with a fresh bottle.